| Let me start off by saying this is a time consuming and
delicate project. If you don't have patience or the understanding/approval
of your significant other to use their kitchen, don't try this. Pay someone
to do it for you. I broke two panels before I got this right and spent
a lot of time that I could have used to do other things. For those of you
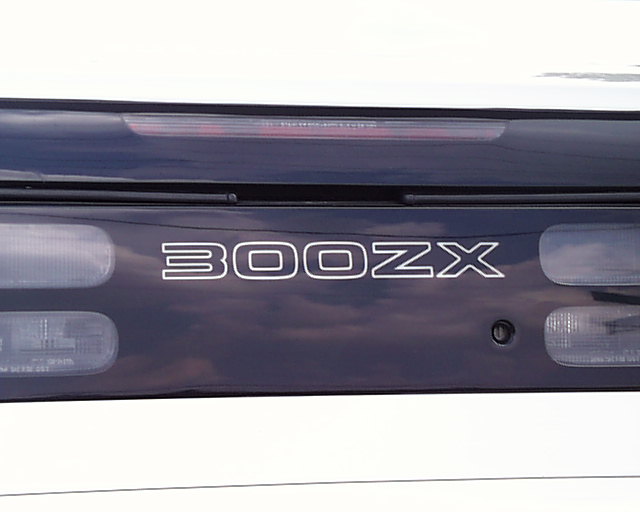
that don't like the EL panels, this how-to can also be used to paint your
300ZX logo to match your custom paint, same amount of work, just cheaper
since you don't have to buy the EL panel.
The reason I recommend Jspec is that the black paint on the OEM panels
is not thick enough and the EL panel shines through, the Jspec has a thick
enough coat you don't need to mess with it.
Parts/Tools:
1 rear center panel (jspec preferred)
1 3" by 11" EL panel from www.beingseen.com
(tell him I sent you please!)
2 feet of 1/2 foam weather-stripping
Electrical tape
The finest sandpaper possible, I used some from my body shop used for
wet sanding
Black primer spray paint (only if using the OEM panel and not Jspec)
CAUTION: Some paints may cause bubbling and lifting.
Plasticote has been used successfully without causing
any problems.
Standard oven with temperature gauge
Procedure:
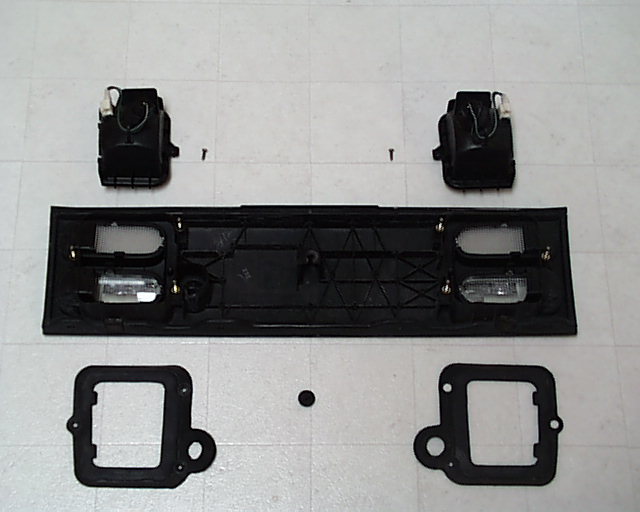
1. Take off the snap retainer, foam gaskets, and light housings by removing
the two screws (3.).
2. Preheat the oven to 400 degrees (clearing taillights calls for 450,
but the lenses in the reverse lights are a bit thinner and start to melt
at 450).
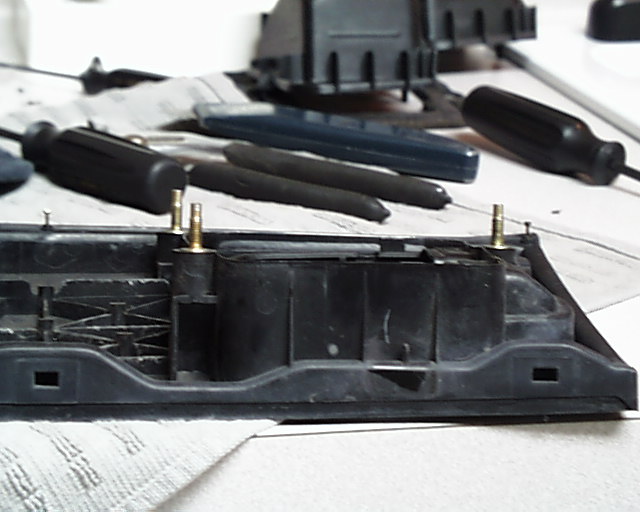
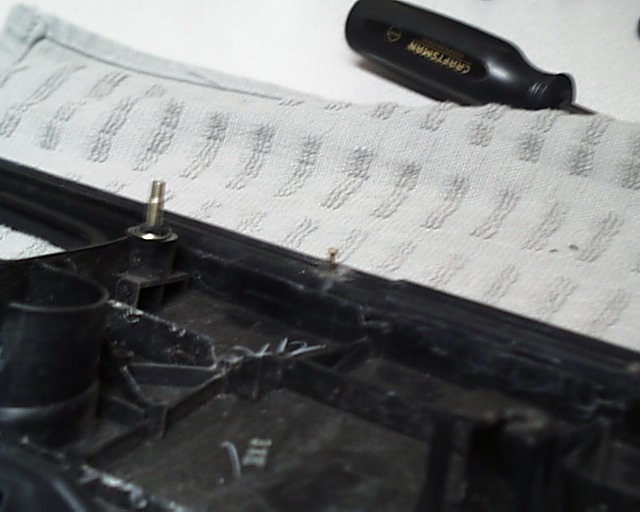
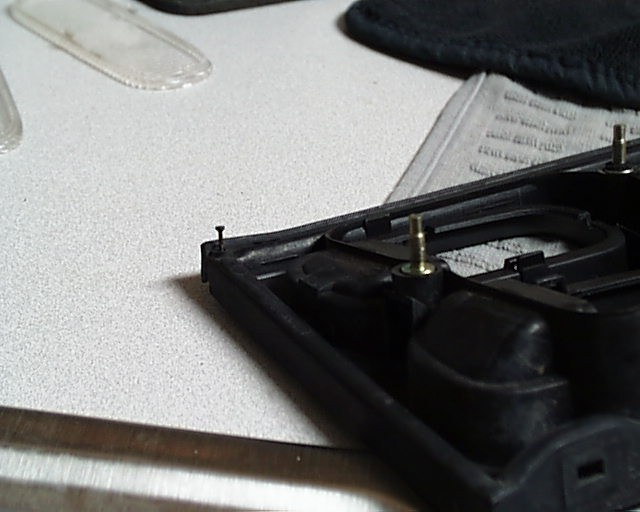
3. Take a sharp knife and cut around the four screws in the rear top
of the panel (4.-6.). They might be covered by plastic and
they have no heads on them. Use small pliers and unscrew them. Do this
while the oven is heating up. If they are not removed, there is a risk
of cracking the center panel.
4. Place the center panel between the open oven door and the top of
the oven (7.) for 8 minutes. Then remove the panel and slowly start
pulling the two pieces apart. Be very careful, it doesn't take much force
to crack the panel, it isn't near as sturdy as the tail light panels.
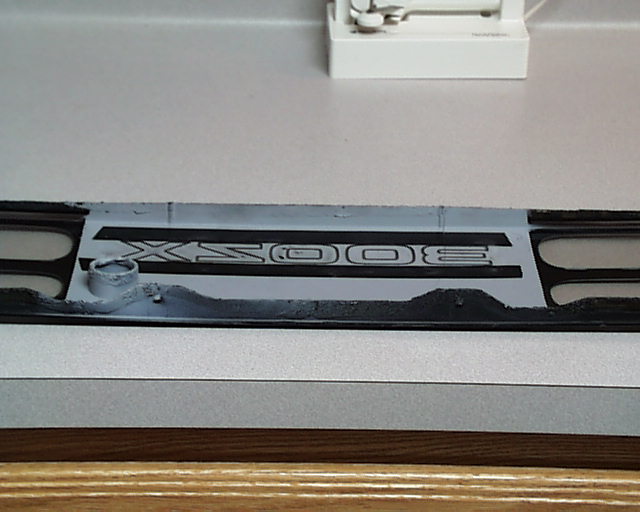
5. Once the panel is separated turn off the oven and let the pieces
cool down. If using the OEM panel, tape off the reverse lights and paint
a good coat of black primer over the 300ZX logo before sanding. I used
gray on an old panel here for pictures (8.), there is a coat of
black under it. For those with Jspecs, skip the primer step. Also note
regular enamel paint can react with the factory paint on the panel and
will bubble up. If this happens remove all paint and repaint the entire
panel, doesn't sound fun does it? I found this out on an already broken
panel so it wasn't that big of a deal after I tested with standard enamel
paint.
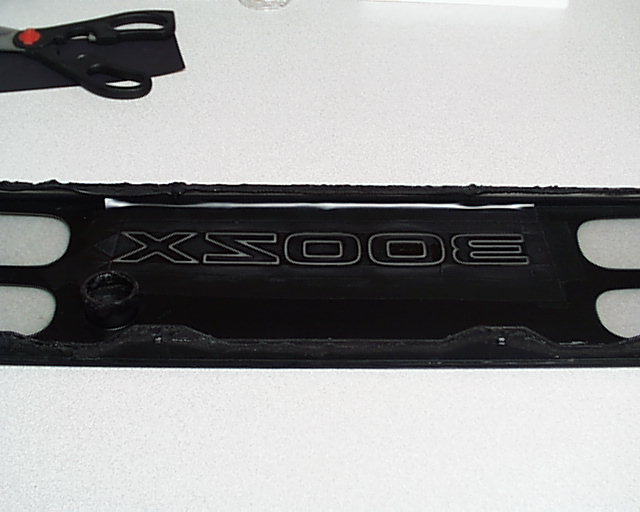
6. Tape off around the 300ZX logo as close as possible with electrical
tape (9.). I recommend at least 1-2 inches away from the letters,
because after an hour or so there will be a slip with the sandpaper.
7. Now the hard part, I cut my sandpaper into 1/2 inch strips and started
sanding away the paint on the 300ZX logo. I tried a dremel and it melted
the plastic even on low setting. I also tried a small 1/4 piece of wood
with the sandpaper on it. The wood doesn't work as well since the panel
is curved. So I ended up just using my finger and the strips of sandpaper.
I sanded the entire logo with just one sheet, so there's no need to buy
a whole package. If when holding the panel up to the light there is any
light through anything other than the logo, use black touch up paint or
electrical tape to cover these areas.
8. Once all the paint is sanded off and it looks satisfactory (pick
a background color for a computer's desktop and hold the panel up to the
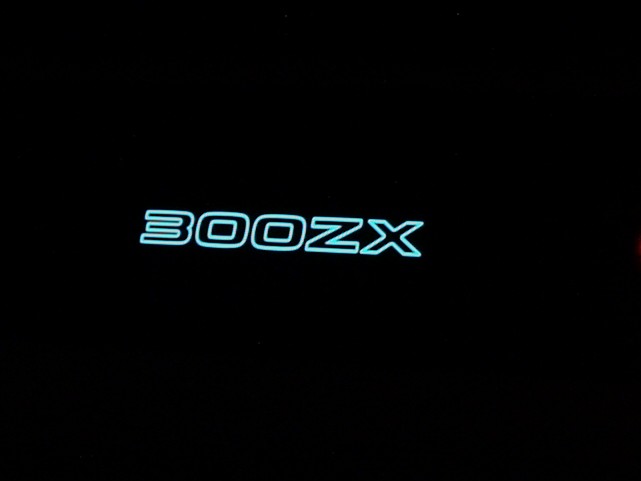
monitor to see if all the paint is off). Start on the EL panel. I picked
the Ice Blue and the Blood Red for my testing here. Be warned the Blood
Red looks very very very orange when not lit, the Ice Blue is white when
not powered and sort of an Indiglo color when powered. For this reason
I went with Ice Blue instead of the Blood Red. The EL panels consist of
two individual panels, one positive, one negative. I was told the length
can be modified as long as both panels are the same size overall. They
can also go as much as 25% difference without being able to see any fading.
This is good because the keyhole will need to be cut around (10.).
Just make sure to tape the panel after cutting, otherwise there is a risk
of being shocked. There is power running through these things.
9. Once the panel is cut and fitted, use strips of electrical tape to
hold the EL panel to the logo. Since the panel is curved I also put two
strips of foam weather-stripping on the back of the EL panel to make sure
it stayed flat against the logo when put back together. My EL panel is
stuck to the back side of the plastic panel and not the logo. This happened
because I painted the chrome inside the back piece of my Jspecs to give
it a darker look and the foam weather-stripping stuck to the paint. For
good fitment/placement I would tape to the logo first.
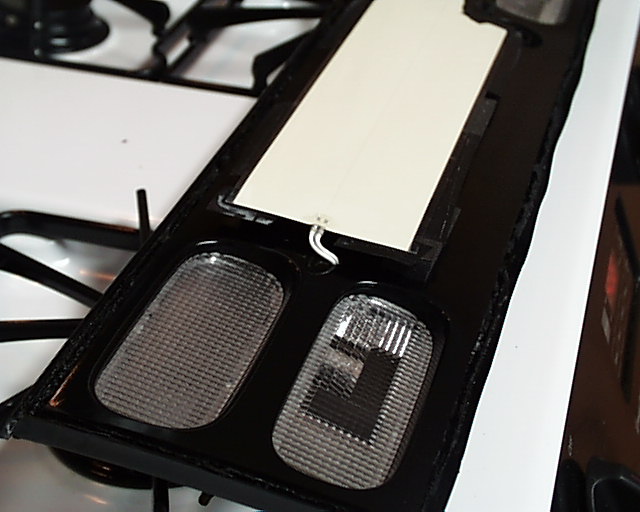
10. Drill a hole in the back plastic piece to run the power wires (11.).
At this point start heating the oven up to 400 degrees again. Put the two
pieces of the center panel back together as best as possible without heating
them up, then put them back on the oven door. This time around I heated
the pieces for 3 minutes and then used my handy clamps to squeeze the two
ends together. I then let it cook for another 3 minutes before removing
from the oven and squeezing the rest back together (12.). Depending
on how well it came apart it might take several trips of cooking/cooling
before the panel is all the way together. Don't get in a hurry here as
a poorly sealed panel will let water in. No telling how that EL panel will
react to moisture.
11. Once the panel is back together and cooled off reinstall on the
Z. I wired my inverter to my license plate light. The main reason I did
this instead of parking lights is that there are sensors for bulbs to tell
if there is a bulb out. By using the license plate light there is no chance
of triggering this sensor and lighting the annoying light on the dash.
Put the interior panels back on.
Originally published 12-04-01
LordZ
Back to TECH |