Hardware needed:
-(3) M10x1.5x(length of stand arm + ~1") Bolt
-(1) M10x1.5x(length of stand arm + ~2") Bolt
-(1) M10x1.5 Nut
-Lots of large washersMeasuring stand arm length:
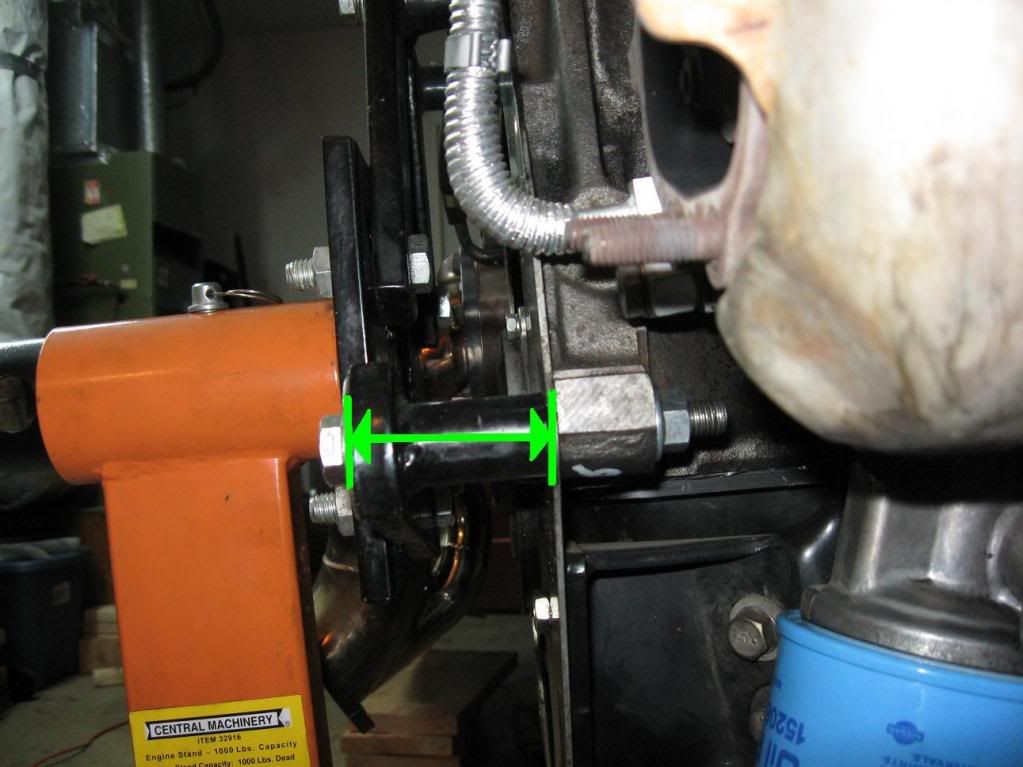 If you use the same bolt locations as I you will have three threaded holes to work with and one non-threaded hole. The threaded holes are about 5/8" deep or about 15mm. Since you probably won’t find a bolt exactly the correct length you want to go with a size on the large (long) side and include enough washers to allow the bolt to go tight before bottoming out. For the non-threaded hole you need a bolt about an inch longer than the other three and a nut for the back side. Use washers where necessary. In the following picture the non-threaded hole is circled in green:
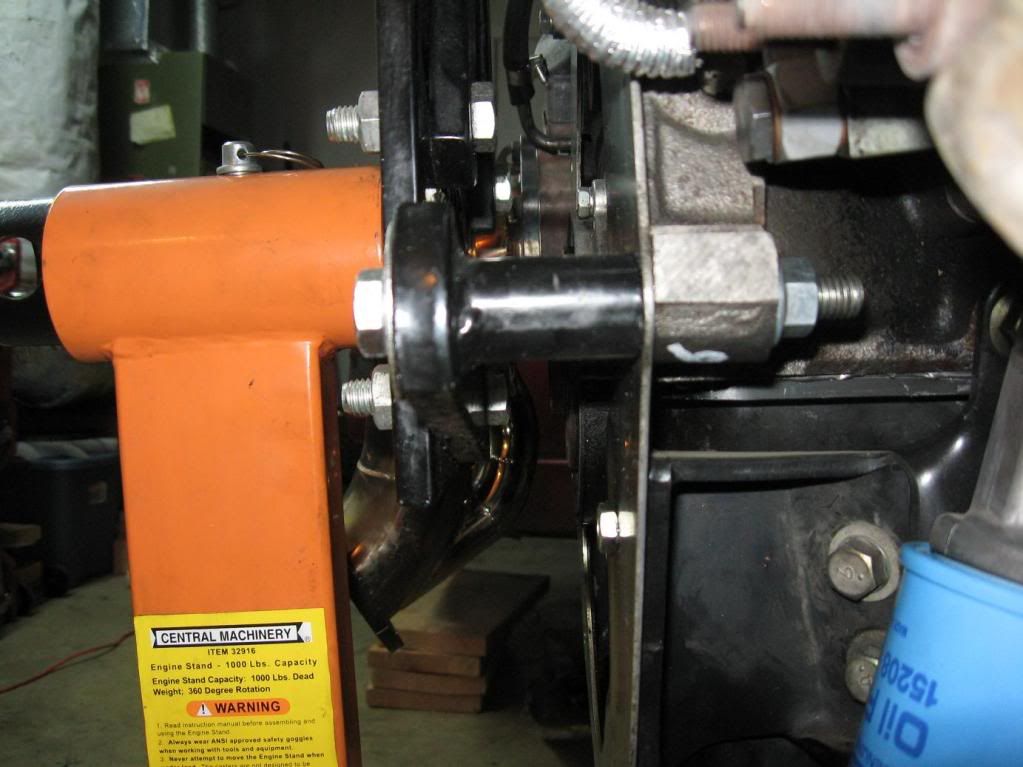
 Here's another angle:
 Tip for first timers:
It is much easier to attach the arms to the engine without the stand. After they are firmly attached, then lift the stand up and slide it on over the arm plate. Finally, lower the engine and stand down on to the ground and re-tighten each bolt and nut. The first time I tried to lower the engine down to the stand and found it hard to get all of the bolts started. Picture steps: Attach arm plate:
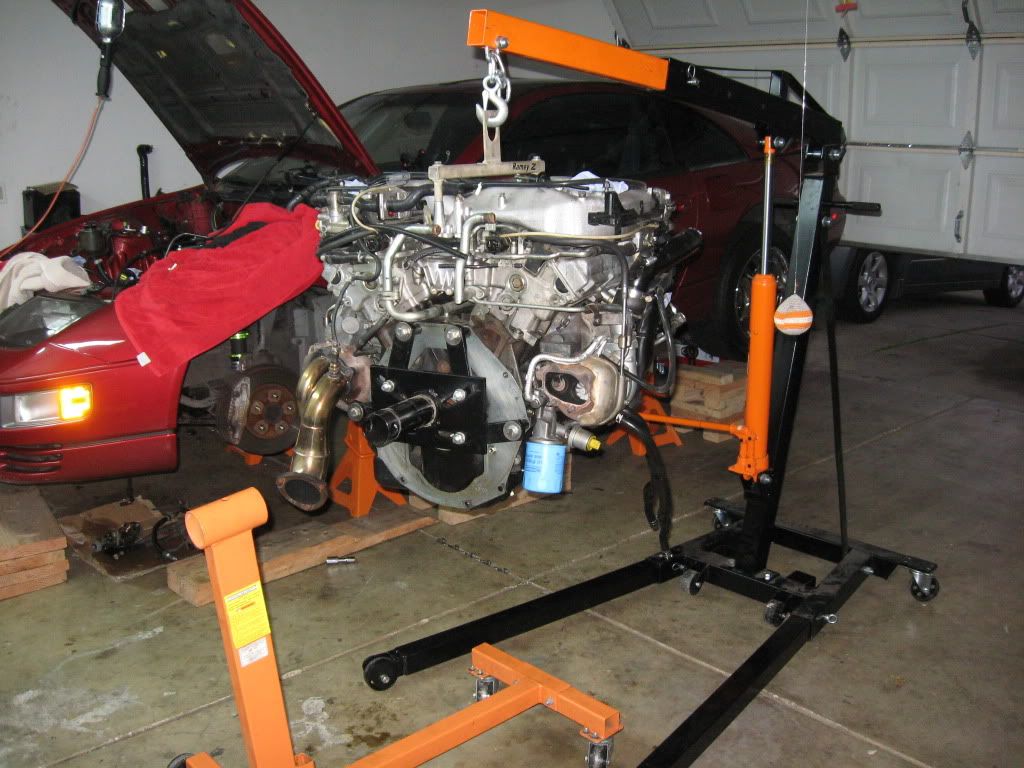 Lift stand up and onto arm plate:
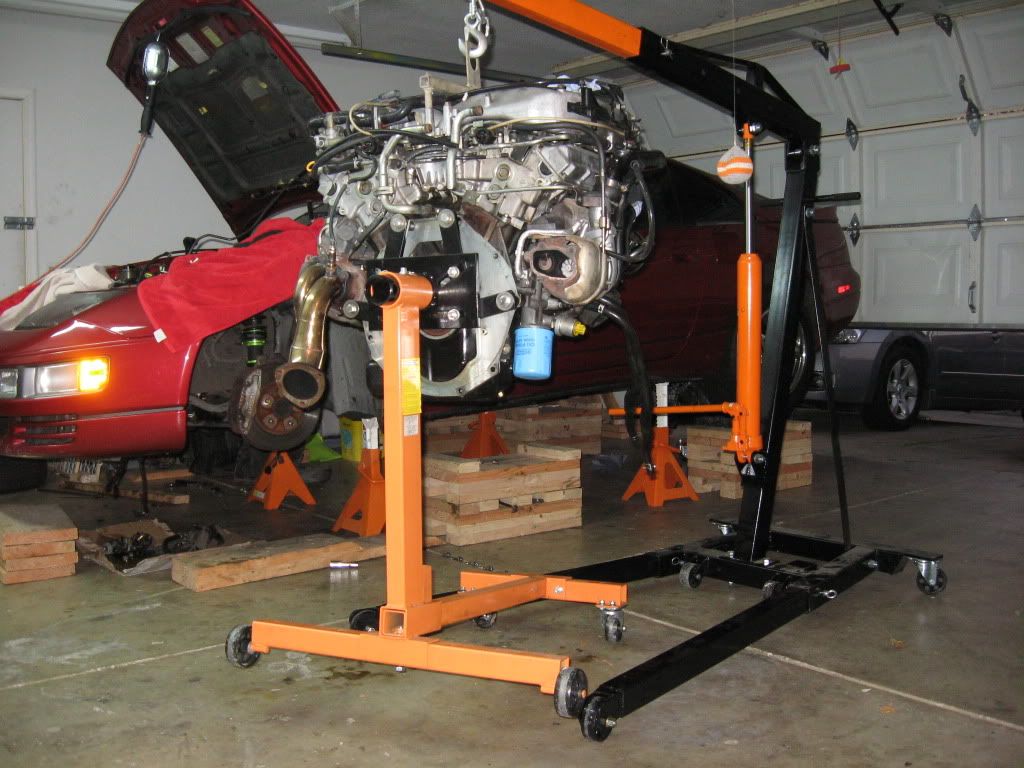 Lower engine and stand down to ground and re-tighten bolts and nuts if needed.
Formerly: ZEVAN (Ca), Evan3zx(ca)
Xbox live GT: kidding Me 1991 CRP TT
1993 Pearl White NA |


 Here's one way to mount an engine to a stand. -