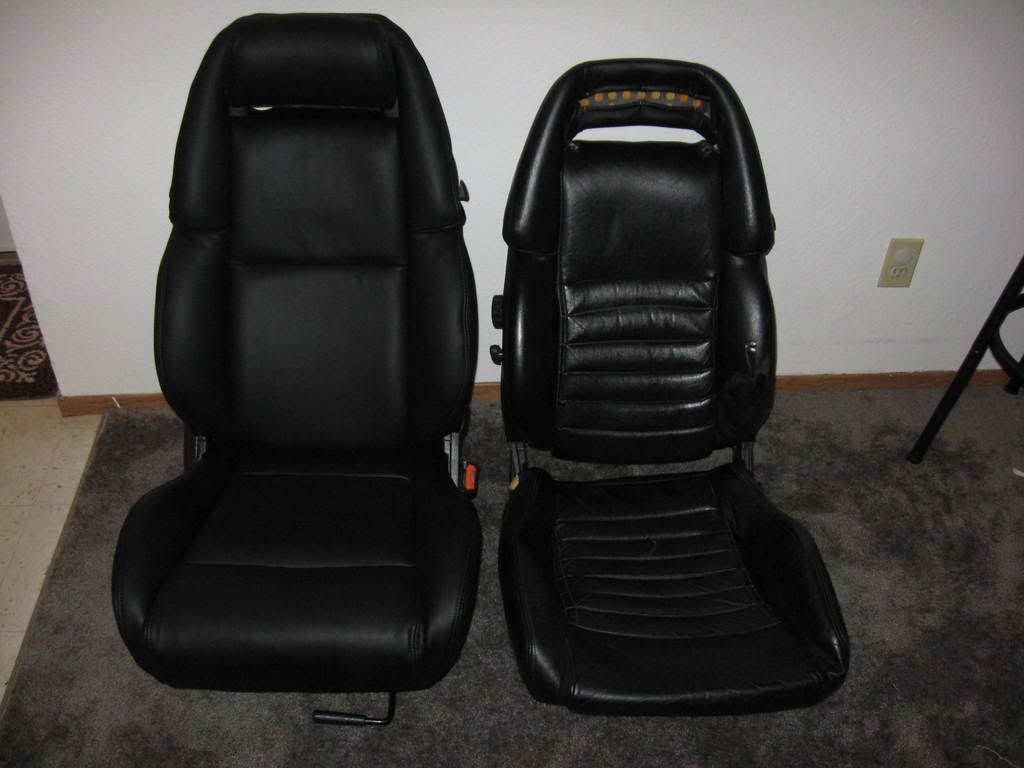
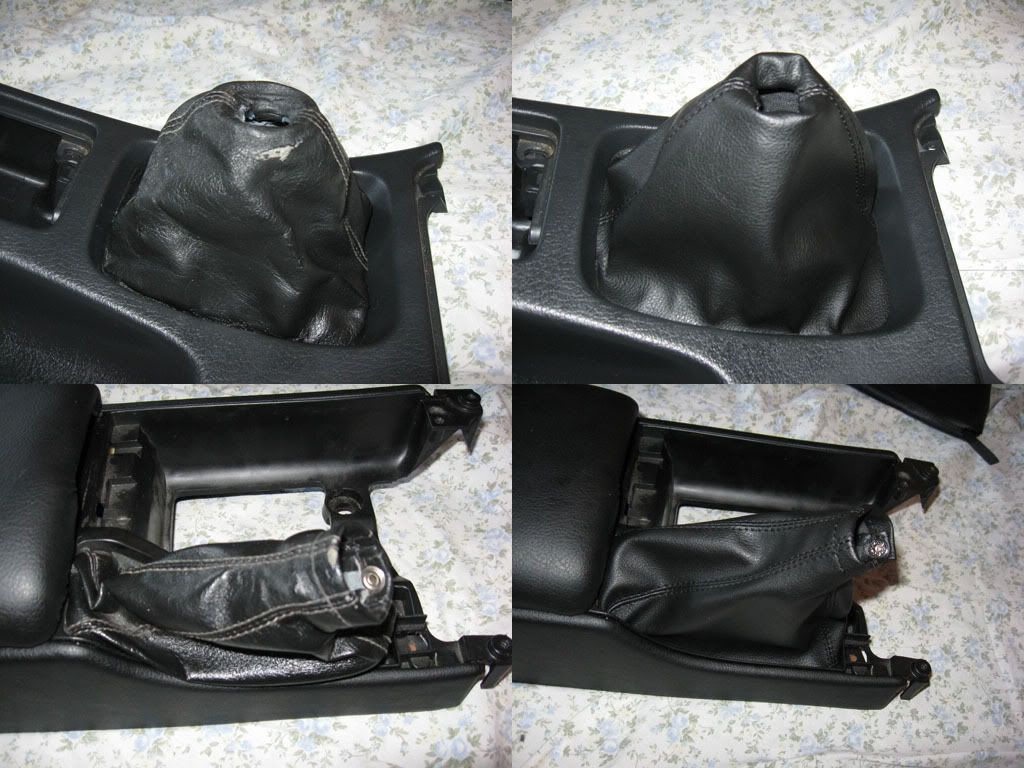
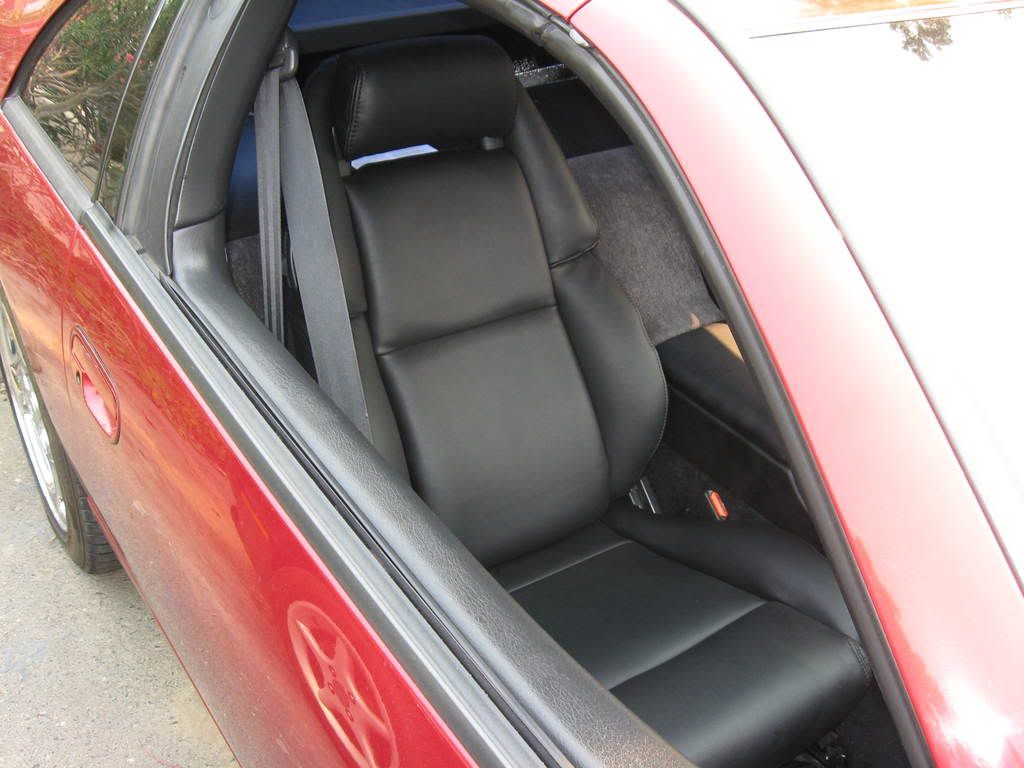
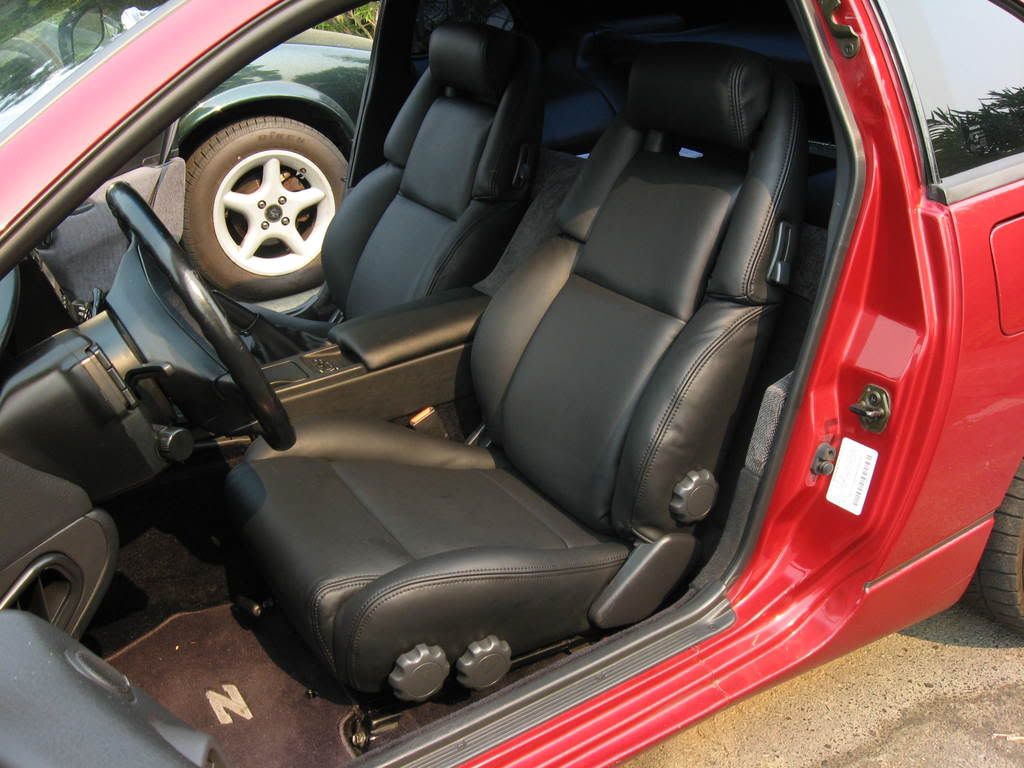
| Thanks to all that helped from here and here. Special thanks to ooofoo for all the lightning quick email responses when I ran into a problem and to Tuner_D for the excellent product. I began this project using the excellent write up found here which I highly recommend. With that being said, I came across a few problems that were not covered. I will post about them so that someone else may be able to find the help they need through search. First of all, here are some pictures of my completed seats as well as shift and e-brake boots provided by Tuner_D. The interior panels are also in the process of being re-covered however, they are not a Tuner_D trim kit. Not the best comparison picture, but it's what I got:
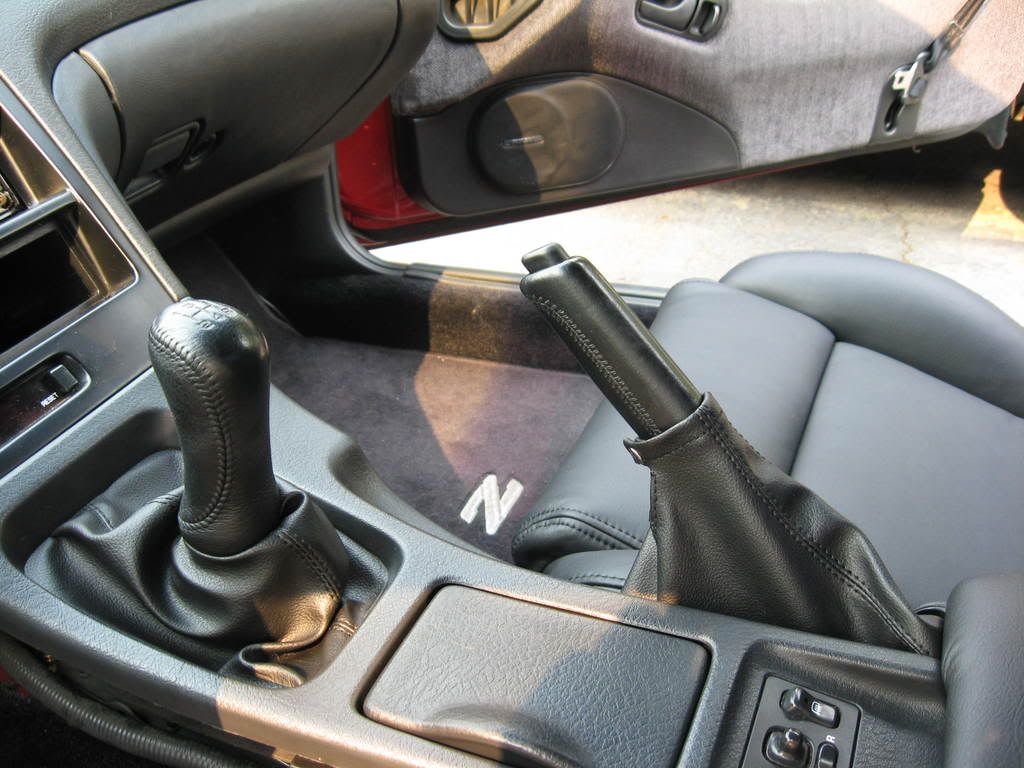
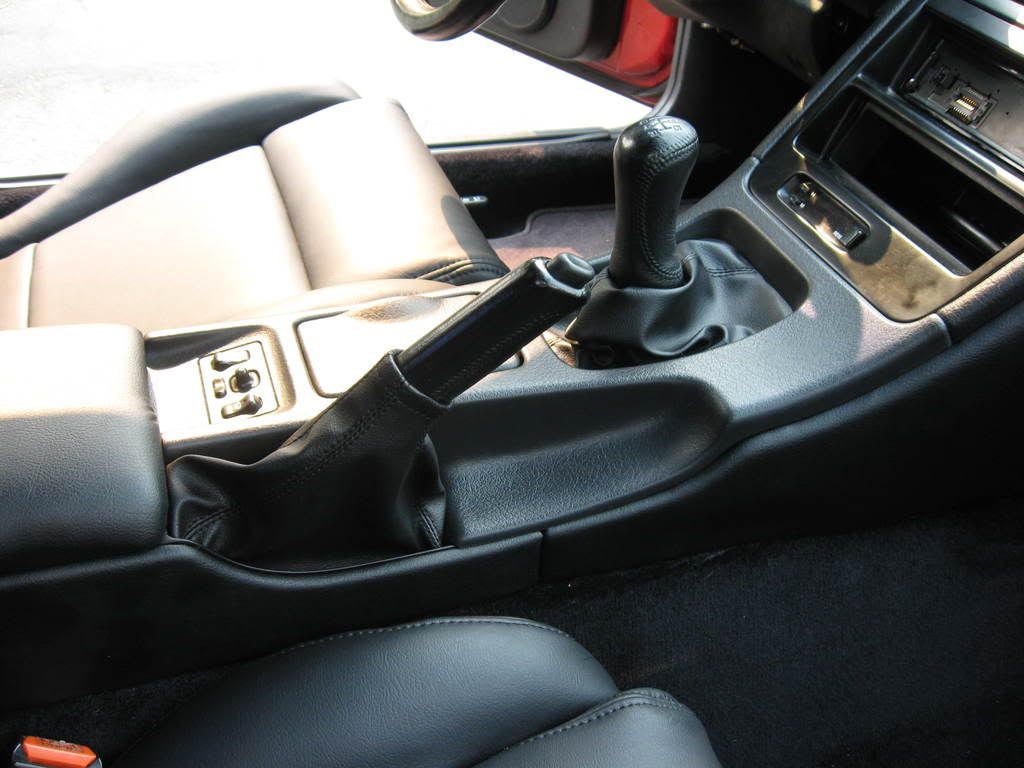
 The boots were absolutely perfect copies. I was very pleased with the installation.
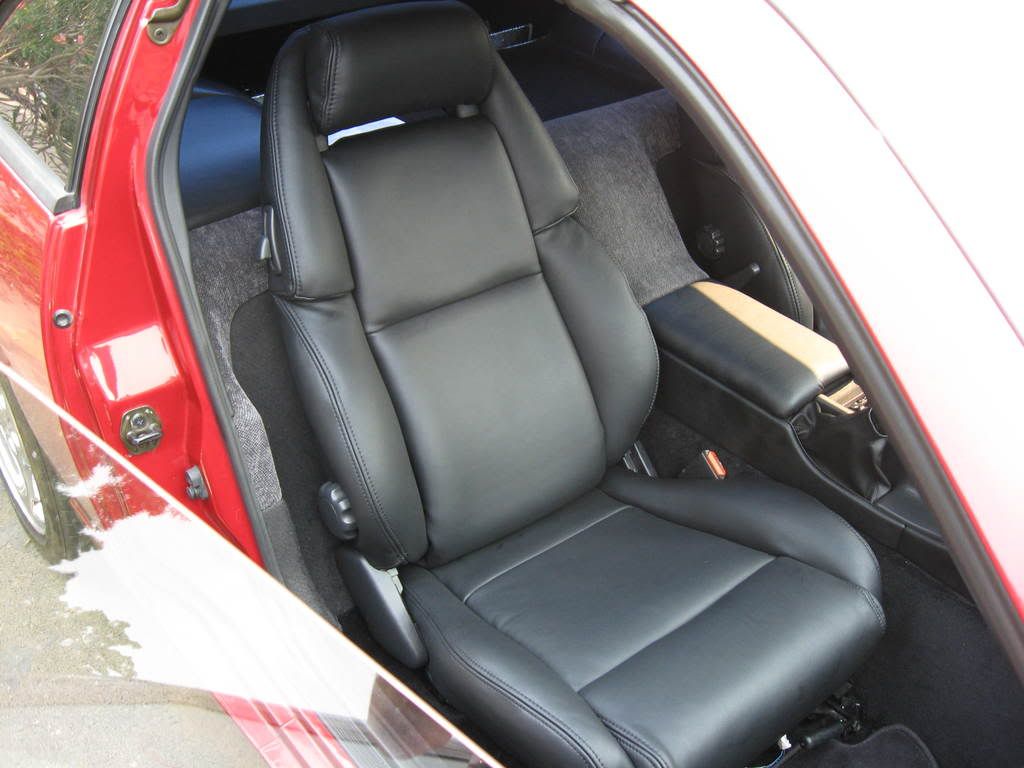
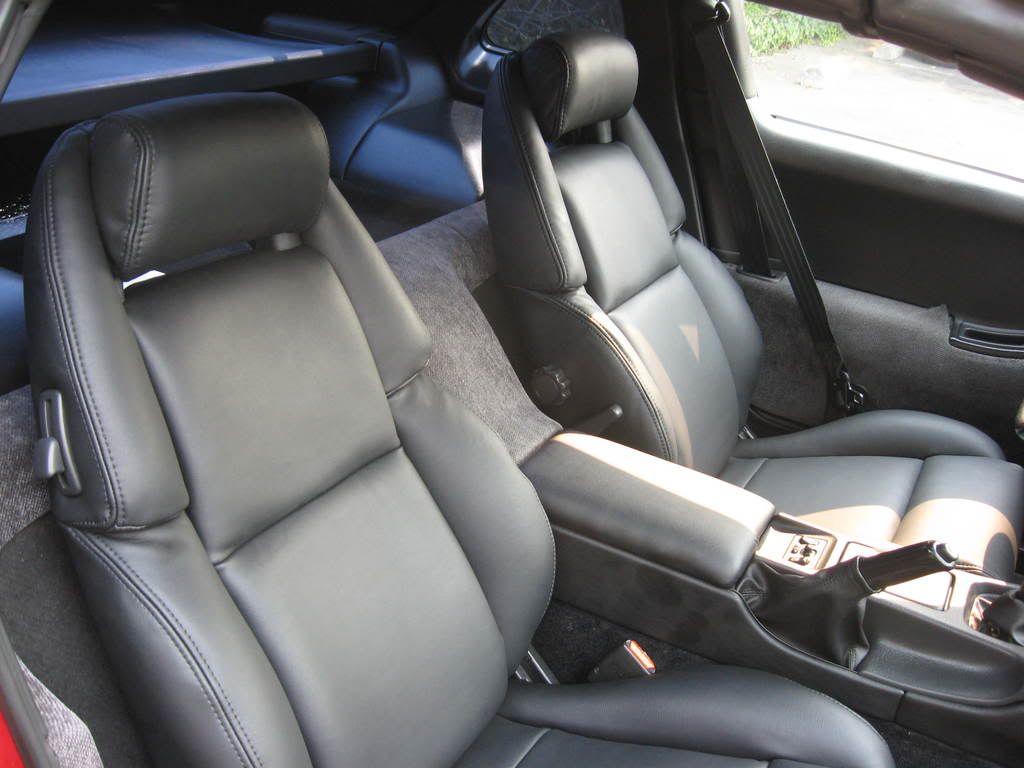
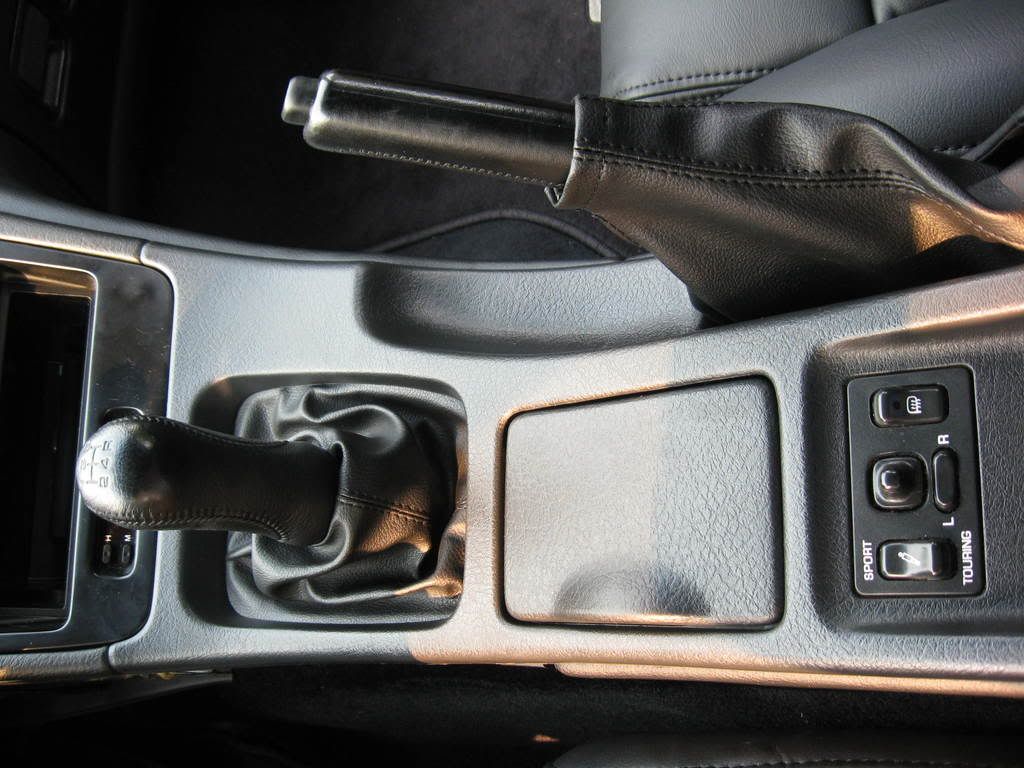
 Installed in car:
Here's some information I have put together as well as some answers to the problems I have run into along the way.
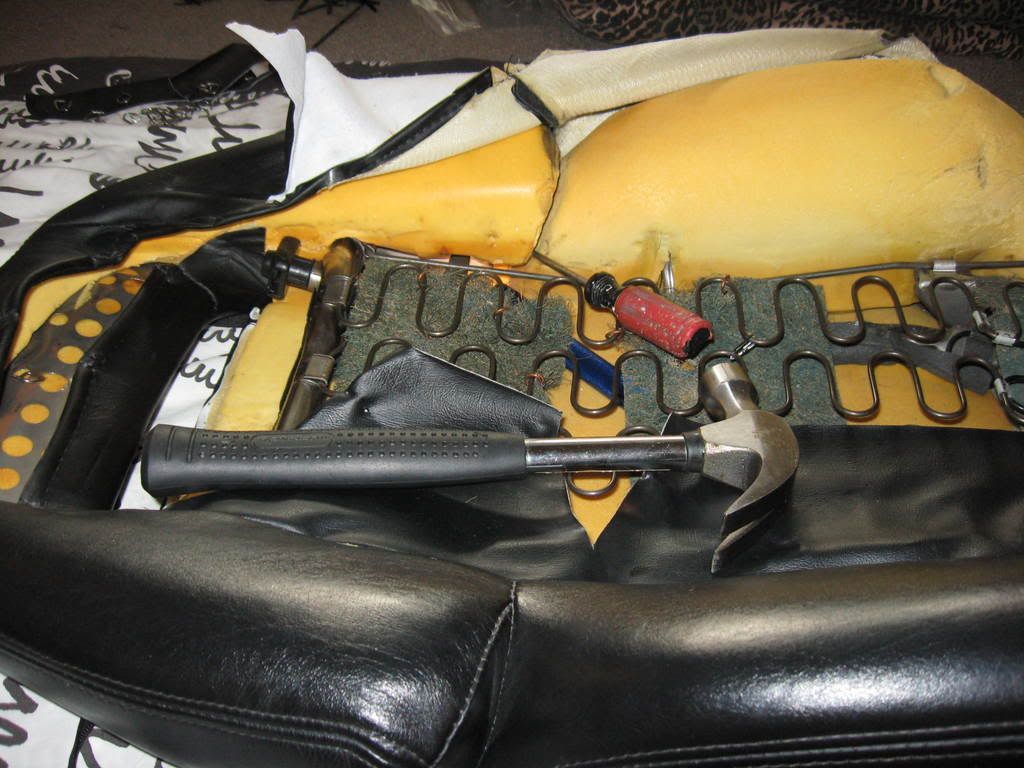
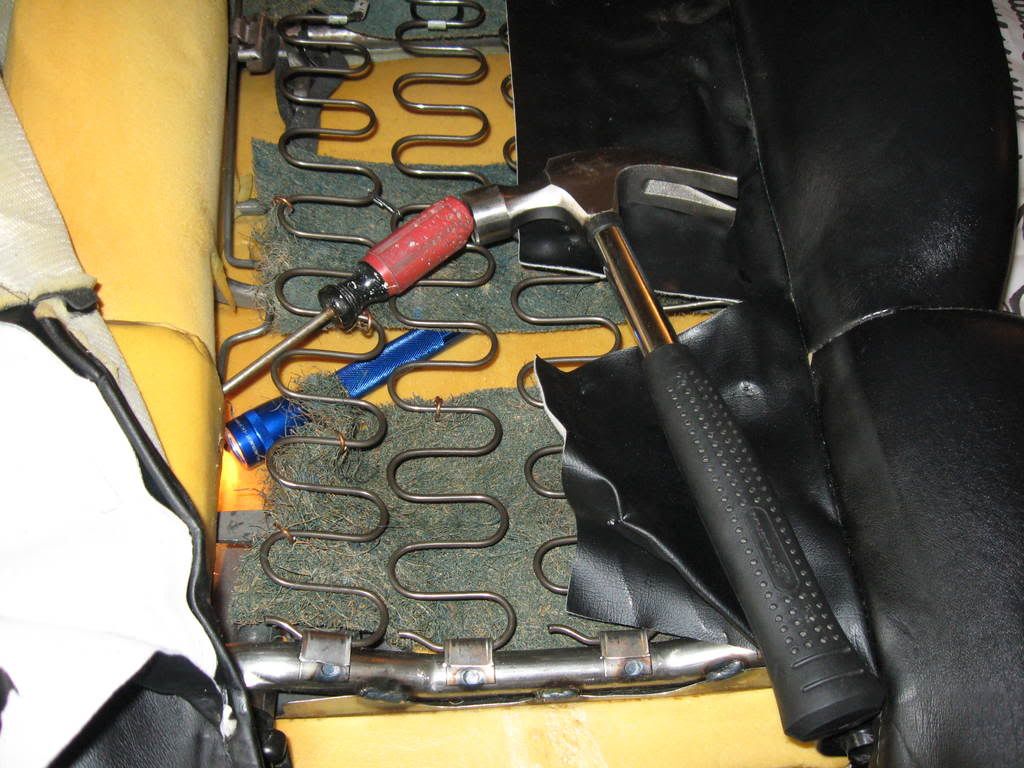
The following picture shows every tool that I used while installing the seat skins:
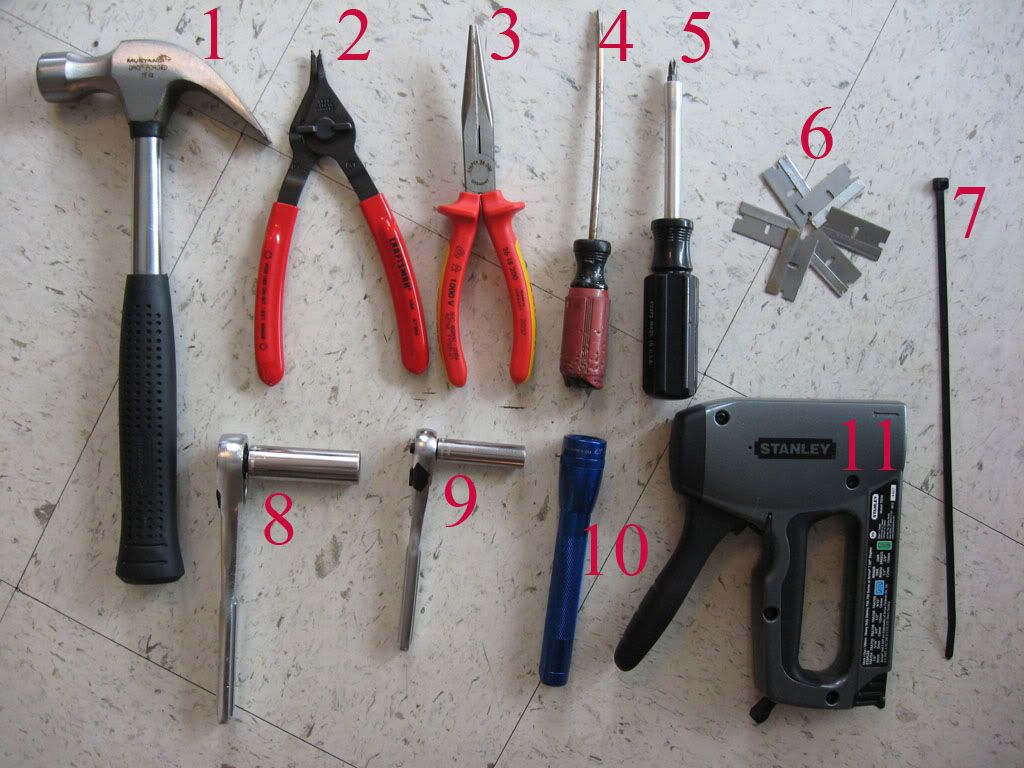 1. Hammer: Used to tap screw driver while removing seat tilt lever.
2. Retaining Ring Pliers: I had this lying around and it happened to work perfect for removing hog rings.
3. Long needle nose pliers: Used to tighten zip ties, help stretch material, and to remove clips that hold adjustment knobs.
4. Flat head screw driver: Used to pry and enlarge hog rings to make room for retaining pliers, removing seat tilt lever, and apparently a dog chew toy at one time.
5. Phillips head screw driver: Used to remove plastic trim around seat pivot areas.
6. Blades: Used to cut holes for adjustment knobs and hog rings. These get dull very quickly. I could have used a lot more then what I had. I recommend at least 10. The duller they got the closer I came to making mistakes.
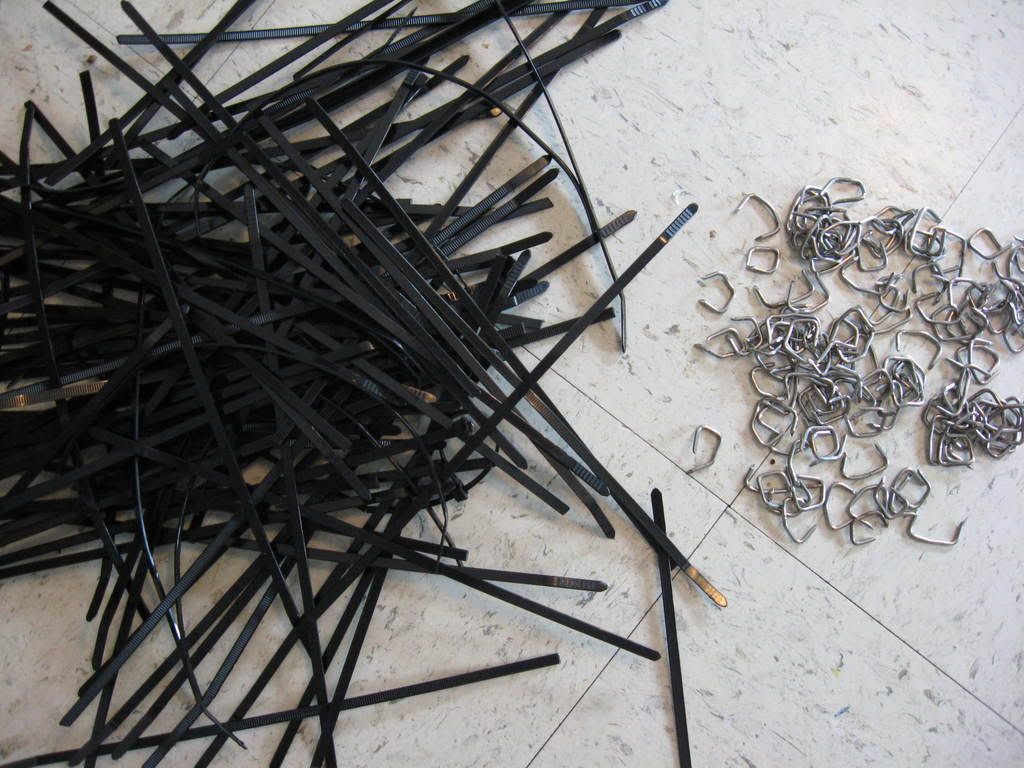
7. Zip ties: Used to replace hog rings. Made seat installation very easy.
8. 14 mm socket: Used to remove seats from car and loosen seat belt parts on seat. Does not have to be a deep socket.
9. 10 mm socket: Used to remove a few parts on seat. Does not have to be a deep socket.
10. Small flash light: Used to find hidden hog rings as well as locate back of seat tilt lever.
11. Staple gun: Used to secure head rest skins to head rest. This model came from Wal-Mart for about $20 and came with 3/8" staples. I think staples a tad longer would have been better. I removed around 135 hog rings total from both seats. While installing the new skins I added a few more zip ties here and there where I felt necessary. I ended up using about 170 zip ties total:
 My first mistake happened when I began to work on the bottom half of the passenger’s seat. I took out the two bottom halves that I received from Tuner_D and tried to determine if they were specific to one side or the other. Well, I decided they were identical and began the installation. After I had the skin completely attached to the foam mold I finally realized that they are in-fact not identical. Each seat skin has a strip of plastic sewn on to one side. This plastic strip is inserted into a metal "gutter" on the seat frame. On the each seat this gutter faces the door. This is how the seat skin is attached on that particular side of the seat unlike the other side which can be stretched tight with zip ties. Now if you do make this mistake like I did it is really not a big deal. The foam molds separate from each frame and in my case I found that the foam molds could be exchanged from one frame to the other. This was good news for me because I had all ready put lots of time into getting that seat skin to fit snugly around that mold and was not happy thinking I would have to undo all that hard work. I forgot to take a picture of the side that attaches by inserting the plastic into the gutter. Here is the hog-ring side from the original write up: (Just let it be known, the other side of the seat does not attach this way and that is why the seat skins are specific to driver or passenger side).
 And the plastic piece side:
 Now the second mistake revolves around that plastic side once again. While working on the bottom half of my first seat I got into the habit of stretching everything as much as possible before cutting out any holes or attaching any zip ties. Well, this works great for the side that attaches with zip ties but is not a good strategy for the plastic side. If you stretch the plastic side of the material too far down while cutting out the necessary holes you will end up with too much slack or material on that side. Since you attach it by inserting the plastic into the gutter you have no way of sucking in that extra material. You will end up with one side baggier then the other. I recommend inserting the plastic end into the gutter before cutting out the necessary holes. I wish I had taken pictures to illustrate what I am saying but once you start to work on yours this should make better sense.
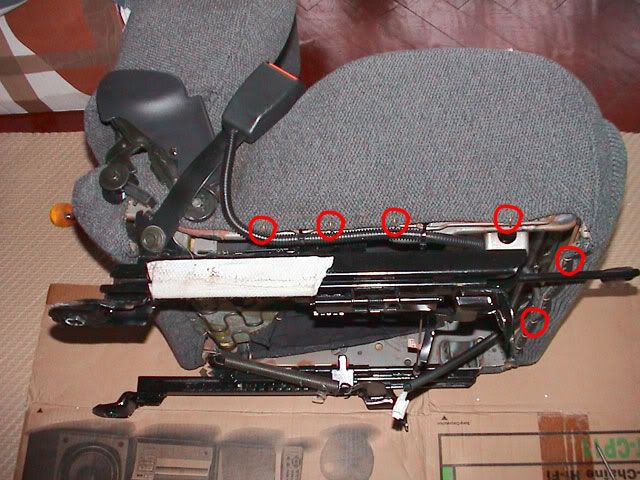
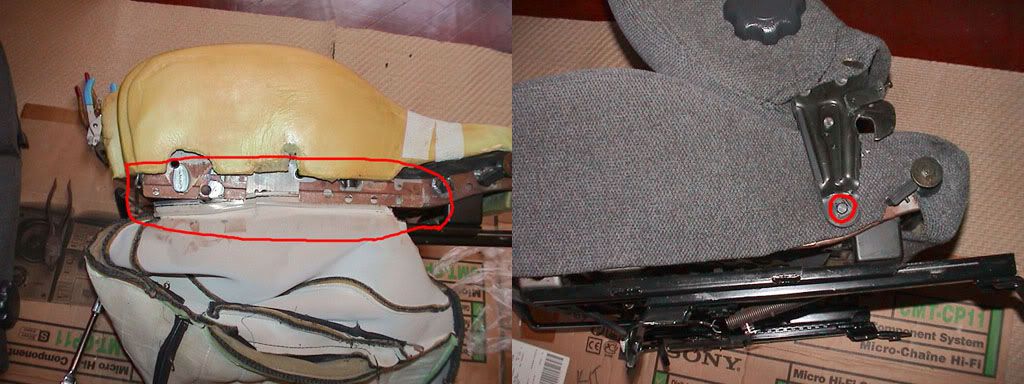
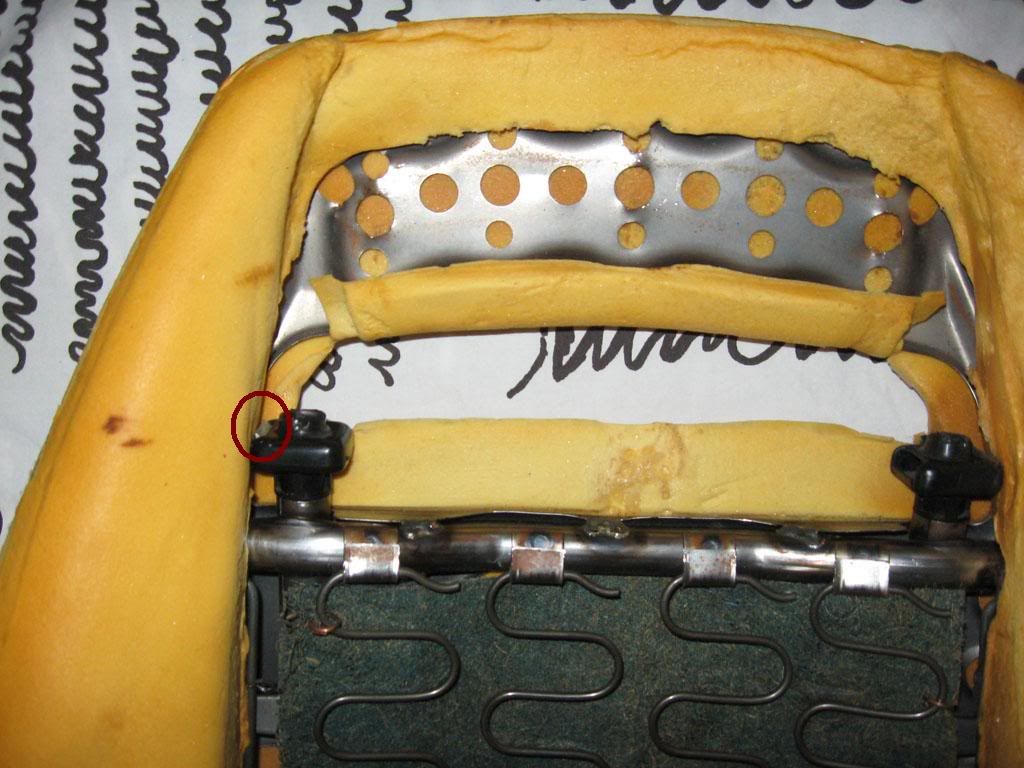
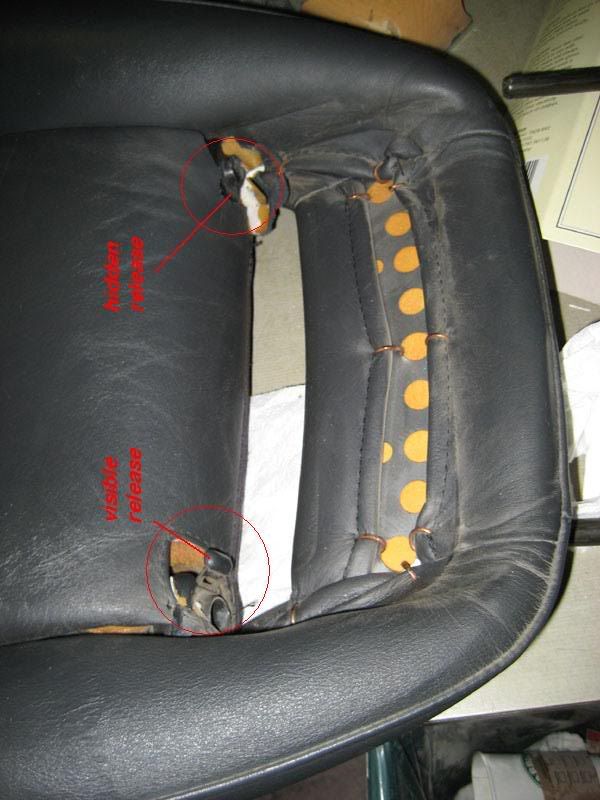
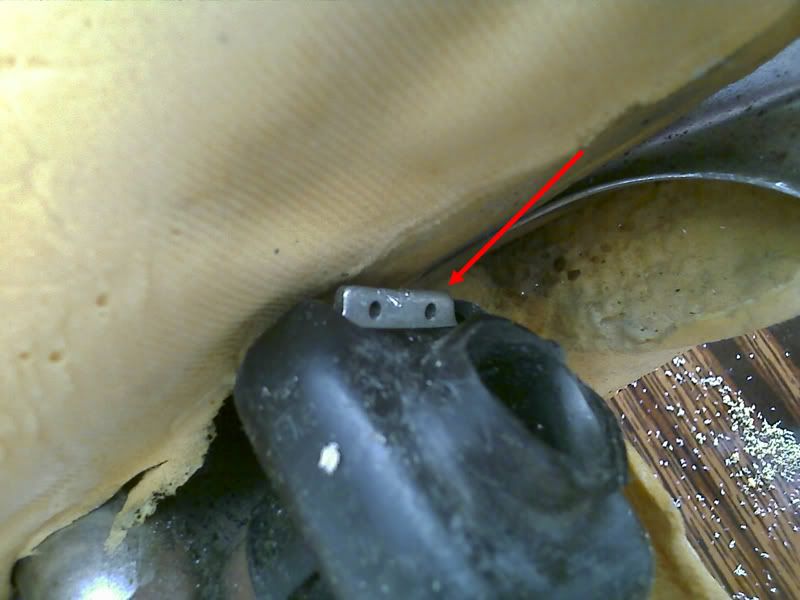
Removing the head Rest: I did not realize that this was going to be so hard. Apparently some of the different types of seats in our z's have different ways of preventing the head rest from coming all of the way out of the seat. Finding these little buttons or levers can be a challenge. Here are some pictures that show where yours might be located at:
My seats:
 Thanks vorpalZ:
 Thanks ooofoo:
 Thanks zQuikonE:
 And from the original write up:
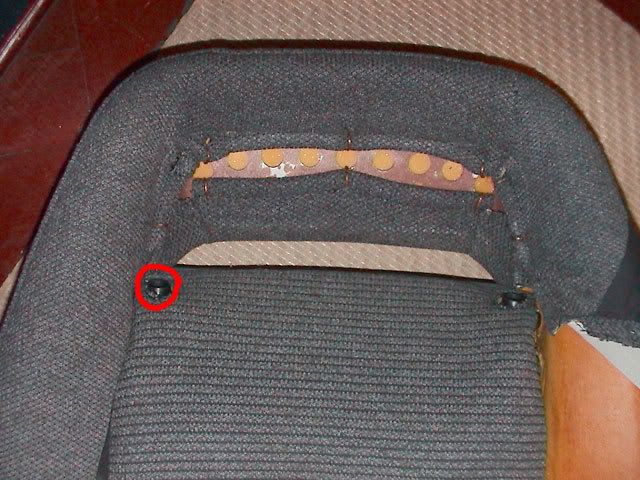
Most of the adjustment knobs come off by removing a clip as shown:
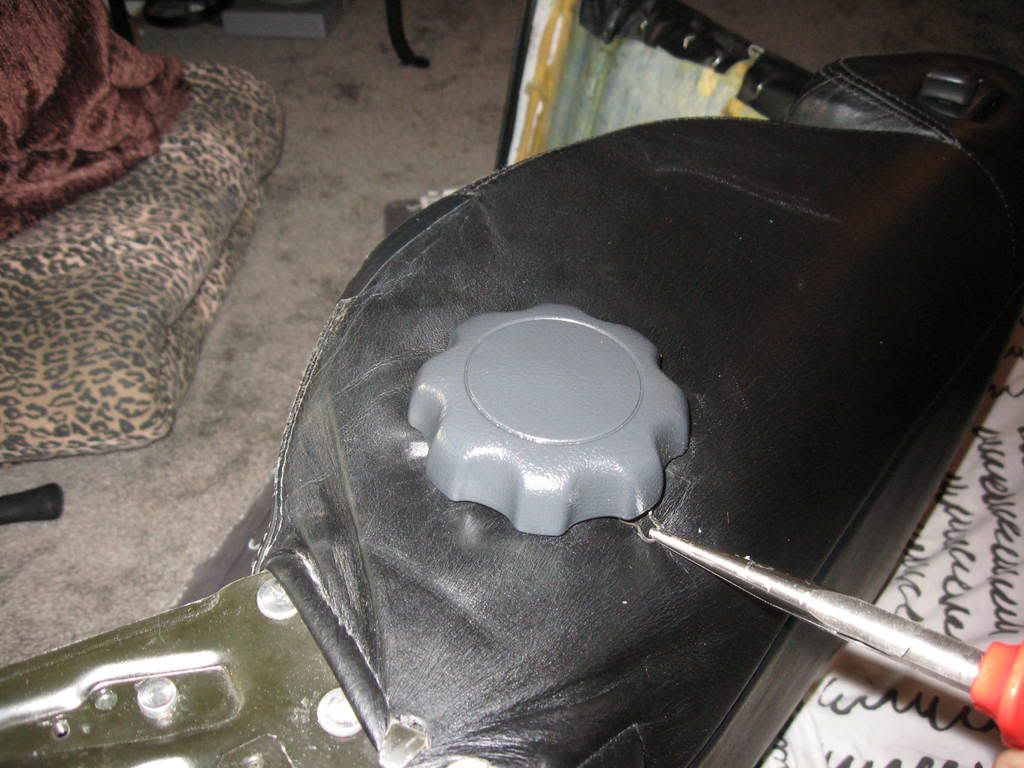
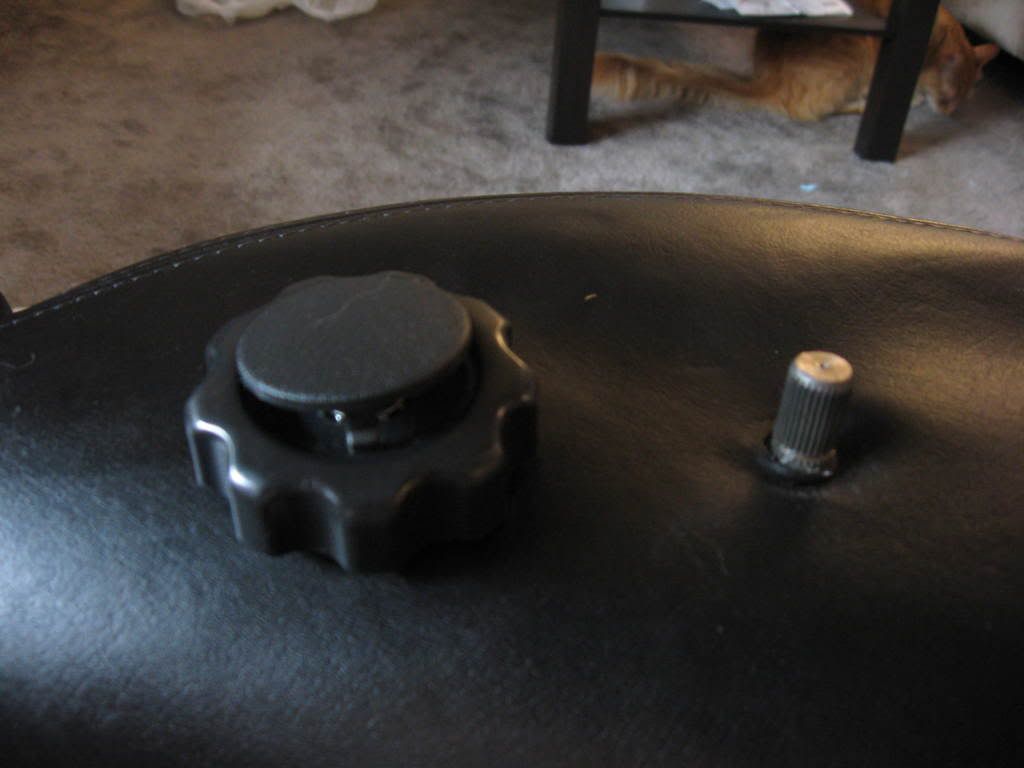
One of mine was a bit different: (Use a small screw driver to pop off top cover to reveal a large Phillips head screw)
I may have misunderstood the original write up but I believe it says to not remove the seat tilting controls. Instead, it wanted you to stretch the material over and around it. I took the advice of ooofoo and went ahead and removed them.
Here are pictures of the piece in question:
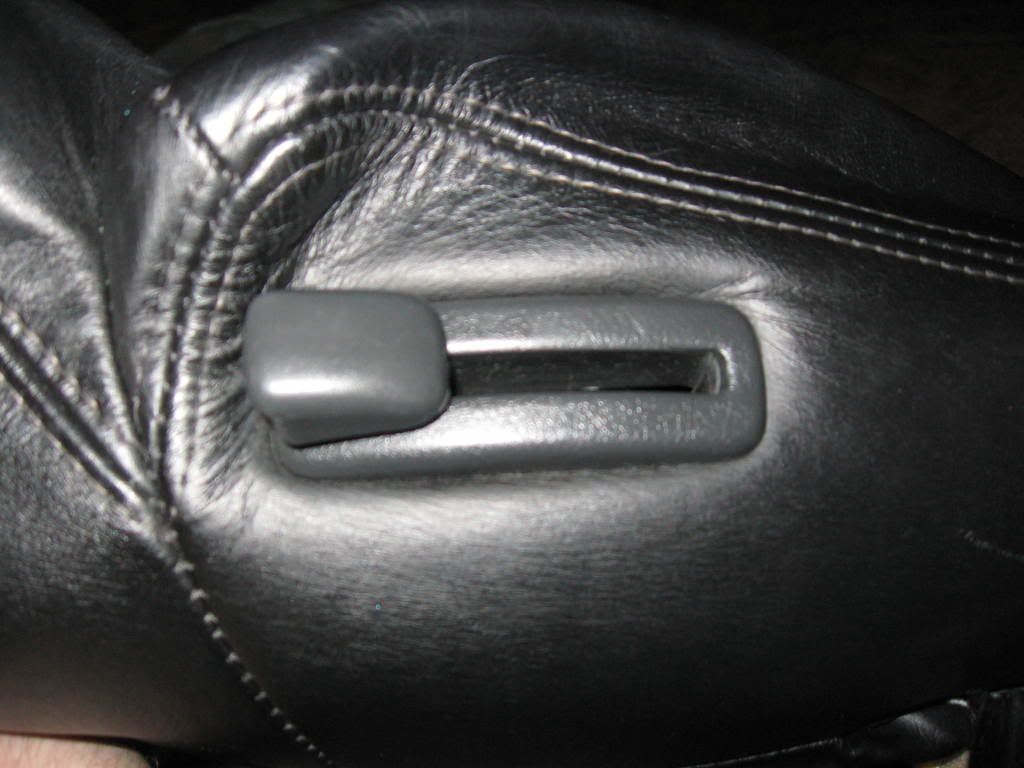
I took my hammer and long flat head screwdriver to tap away at the lever from behind. It is stuck on pretty good so just pulling on it won't work. Just keep tapping around the edges until it starts to come out:
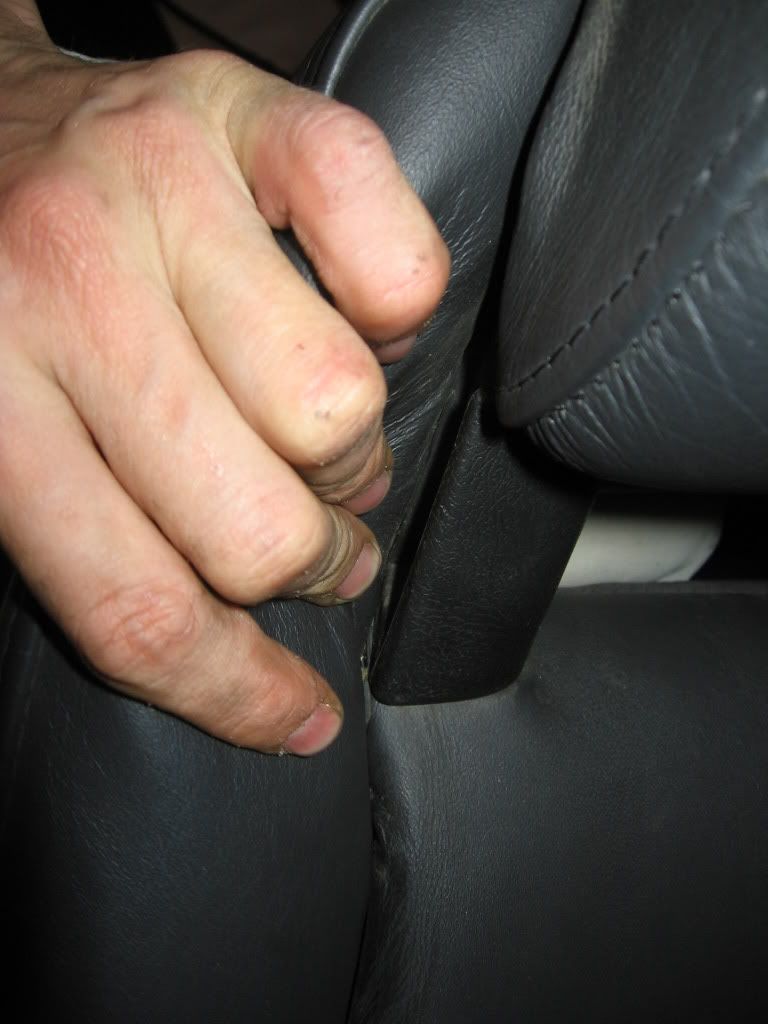
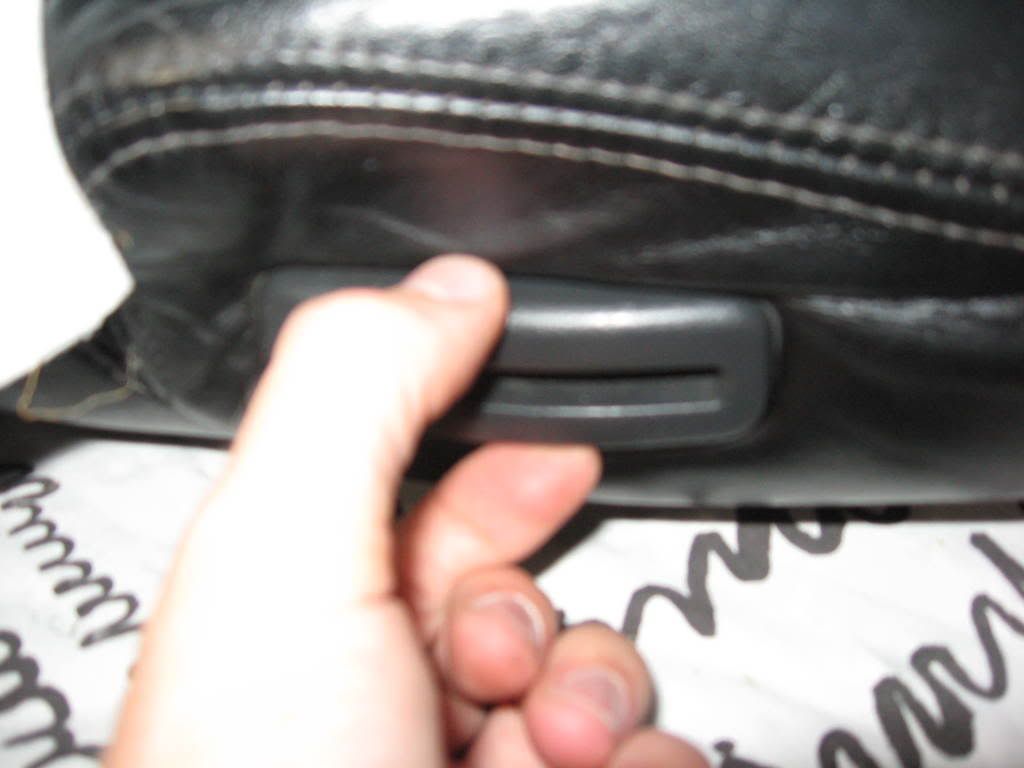
Once you get the lever removed use your fingers to squeeze in the middle of this piece as shown to get it to release:
 And finally, in-case you were wondering, this is the lucky lady who carries my new seats:
Yes, I know the wheels are not on the correct sides. Thanks for looking. -Evan
|


 Completed Tuner_D seat installation pics and tips… -