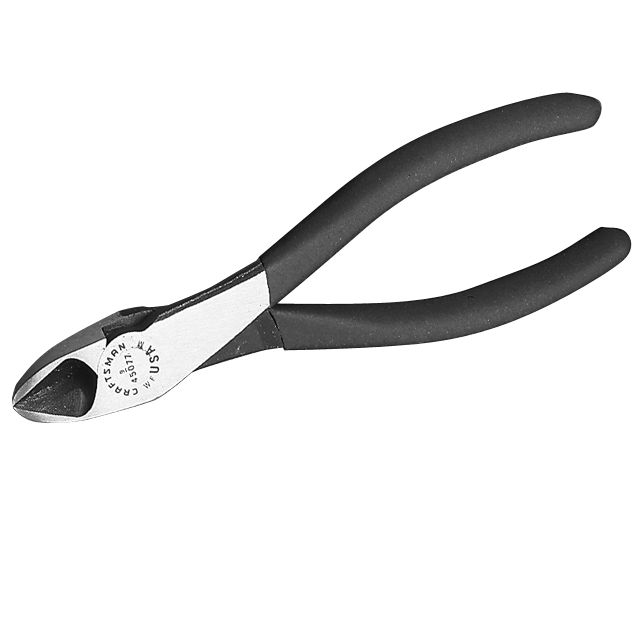
| Placing a grill behind the openings of the fascia can greatly reduce debris from damaging your heat exchangers. It still allows air to flow, but prevents bent or clogged fins. It also looks really good when done properly. A couple of things can be used for the mesh. One is gutter guard at a Home Depot or Lowes. This is galvanized steel which can be painted or powder coated. I’d imagine it’s pretty cheap, but I never looked into it. The second more attractive option is the polished grill mesh from various sources. I found mine made by APC at my local AutoZone. You may need two packages, depending on your bumper. Here are some other options which are similar but I haven’t personally tried: JC Whitney AeroSpeed Grille Mesh, $19.99 Mesh grill inserts at Amazon.com $26.10 for 2 giant sheets (again, I’m unsure on quality) Due to it’s taller sheet size, this may be more accommodating to aftermarket or 99 Jspec fascias. Timing: Anytime the fascia is off the car. It can be done (80% of it) with the fascia on, but it is 100% easier with it off. Time investment is about 1 hour. Plus epoxy cure time, usually 24 hours. Tools: ? Cutting pliers or durable scissors 
? 2-part epoxy or auto trim adhesive 
? Medium to fine sand paper ? Zip ties ? Rubber gloves (for protection from epoxy and sharp cut edges of mesh. I recommend dishwashing gloves) ? Eye protection Procedure: First, remove the fascia per these instructions in the FAQ. Then place it face down on a towel, to protect the paint. Be careful not flex the bumper too much, especially if it has been repainted. A lack of flex agent will cause cracks and peeling in a bent bumper. Lay out your mesh material and estimate the amount of trim you’ll need for each opening. On the IC openings, leave about 1” in each direction over lap of the opening. On the center lower opening, go about 1.5” taller than needed, and about 1.5” wider as well, on each side. The center upper opening, measure about 1” wider on each side, and the same size vertically as the outermost part of the mold, as shown in the pictures. Note the angle of the mesh as well. Probably doesn’t matter, but I put the mesh in so that it’s oriented as such, from a side perspective: Car \ outside <-
The thought is the air will be angled upward if it’s direction is altered at all. 
Lets start with the easy stuff, the IC openings. Cut as described above, and press and form the aluminum mesh to the contour of the opening. If you have a black car, you can attach with zip-ties and be done. I’m also pretty sure you can simply cut the zip tie after reinstallation and the IC duct will trap it in place. Note: If you have aftermarket IC’s, you will need to trim the ducts about 1/8” to ¼”, off the front. 
Next let’s tackle the center upper openings. Cut into 3 pieces, snipping along the center line of the two license plate screw holes. Snip one vertical unit in and about 3 wide to get around the rubber things in the middle of the opening. For the left and right ends, I enlarged one opening to fit snugly around the plastic push clip on the outsides. Once it’s tacked in place with that, tape about 1” from the other end. Mix some epoxy or trim adhesive, and encapsulate the end of the mesh. Sand the surface of the bumper first for adhesion promotion. Leave tape on until epoxy dries. Center upper piece is taped then epoxied. 
The lower center piece takes some finesse. You need to bend the piece so that it contours the bumper, while maintaining a 1” or so lip. You want to place that lip between the bumper and the stud strip for the front splash shield. That strip will clamp this piece in place, and is loose until reinstallation. Clamping is adequate force for retention, but you can place the studs thru the mesh, if you have enough material and patience. 
Once the epoxy has cured, remove tape and reinstall fascia. You can probably snip the zip ties on the IC openings, but I left mine on, having a black car and all. When all is said and done, it should look like this:
 Care is easy as well. Use a flat wheel brush (mine is grey and black, one loop with nylon bristles) and gently scrub with your usual car wash and water.

"...Downpipes own. They own everything...anything...all there ever was and will be...they should be stock on all cars. Screw the environment, emissions, noise! I love them...I shall name my first-born after them with glee..." - SeedyRom 05:13:20 10/03/02 "i love the cock" - genic 22:20:47 09/25/03 "I hope you get fucked in the ass with a pringles can." - ni[X]it 14:53:53 02/02/06 "Either ignore him or beat him up. Anything else will be over his head." - Marshall 12:28:23 08/18/04 z32baby: yeah, my memory sucks balls
DJ Juiced: What's your memory doing this friday night? ;) "i've got to the point where i can drive the Z at its limits and i want more" - shadowZ 16:29:56 08/31/04 "I was way more timid then than I am now about getting in there and yanking on things." - TT XTZ 13:30:34 07/25/05
|

