| A recent visit to the local drag strip made it very clear to me that my 1990 TT would benefit from custom tuning. The car currently has 2.5” intercoolers and piping, MS exhaust manifolds, GT2560R turbos, 740cc Nismo injectors, and a SpecialtyZ chip in the ECU. I naively thought it would be easy to find a local tuner who could dyno tune my car with the chipped Nissan ECU. After all, Portland Oregon has some of the best tuners in the entire country. After calling nearly all of these tuners it became obvious that short of driving to Southern California or flying a tuner to my area, I would need to find another solution. Fortunately I spotted an offer of sponsorship from TurboSource for an Adaptronics plug and play Z32 ECU , in return I would report back with the results. Fortunately, my car was selected and I was notified that the ECU would be shipped immediately. While waiting for the ECU to arrive I reviewed some of the features of the Adaptronics system. I was very impressed by the advanced capabilities of such a reasonably priced system. My eventual plans for the car included the chipped ECU, an Electronic Boost Controller, E85 Dual Fuel switching, Data Logging, and a Selin translator for dual intake. This system includes all of these capabilities and more. And in the case of the Selin translator, the Speed Density based tuning makes it and any MAF sensor unnecessary. Piggyback systems to achieve just these functions will easily cost more than the price of this ECU so it really does appear to be a bargain. Installation was very simple, about as close to plug and play as you can get. Basically all that is required is replacement of the Nissan ECU with the Adaptronics ECU, a vacuum/boost reference hose to the ECU’s internal MAP sensor, and installation of an Intake Air Temp sensor. The IAT connects to the wire that currently runs to the existing fuel rail temp sensor that is not required. The only wiring necessary is one splice for the IAT sensor ground reference. That wire is connected the black sensor ground that is shared between the TPS and coolant temp sensor. Everything else is connected through the factory harness to the OEM components. I already had an LM2 Innovate wideband in my car so a serial cable was connected between the Innovate module and the ECU. The module can use your factory O2 sensors but obviously the wideband sensor is far more precise. That’s really all there was to it. Including tapping a hole into the upper plenum for the IAT sensor, and running the reference hose through the firewall it took only 2 hours. The car fired right up and idled better than it ever had. Reversal of the installation is even simpler. If you haven’t deleted your MAF just remove the Adaptronics ECU, reinstall the OEM module and swap the IAT wire back to the Fuel rail temp sensor and fire up the car. 15 minutes to return the car to its factory ECU for diagnosis or whatever other reason you may have. I plan on taking the car to a nearby tuner for a side by side comparison along with a full custom tune. Even though Adaptronics is relatively new to the Z32 scene they have been producing standalone ECU’s for quite some time for many other cars. Dealers such as my tuner are popping up all over the country on a weekly basis. One is certainly coming to a city near you. In fact, I recently read that Z1 Motorsports is one of their newest dealers.
One last thing I would like to mention is the level of end user support that Adaptronics offers. It is outstanding. Questions and concerns were answered very quickly and the technical support team took time to help me understand how the system works.
http://www.turbosource.com/Adaptronic-Select-Nissan-Z32-300ZX-p/ts4-20-300zx.htm ] ">TurbosourceZ32ECU
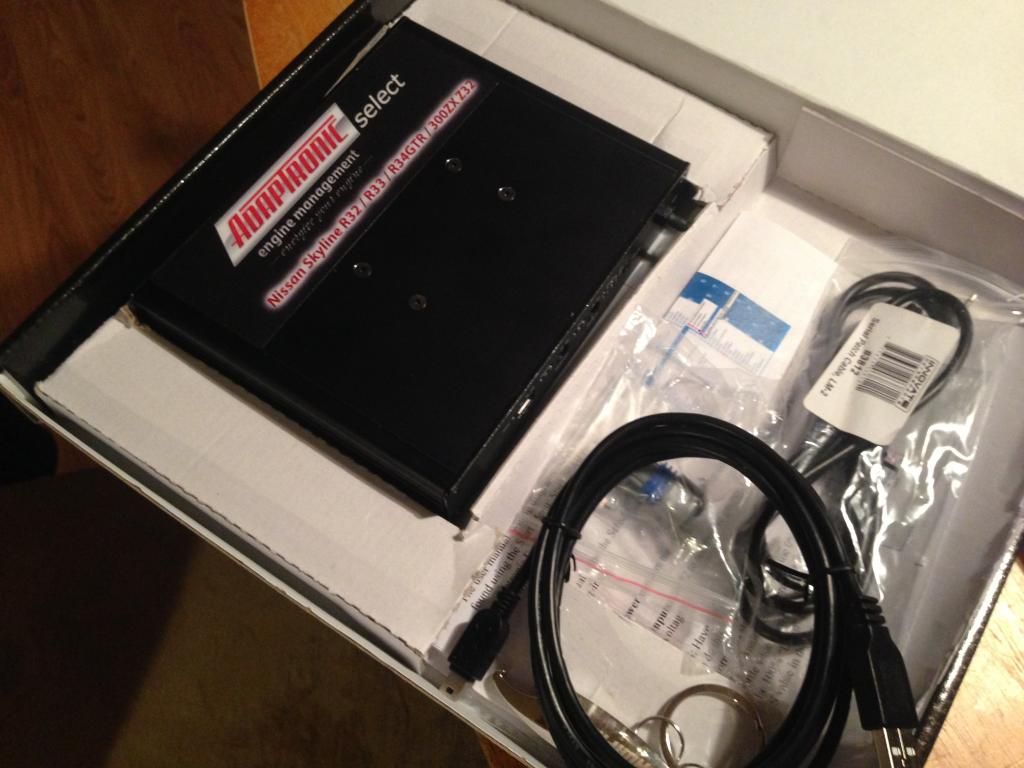
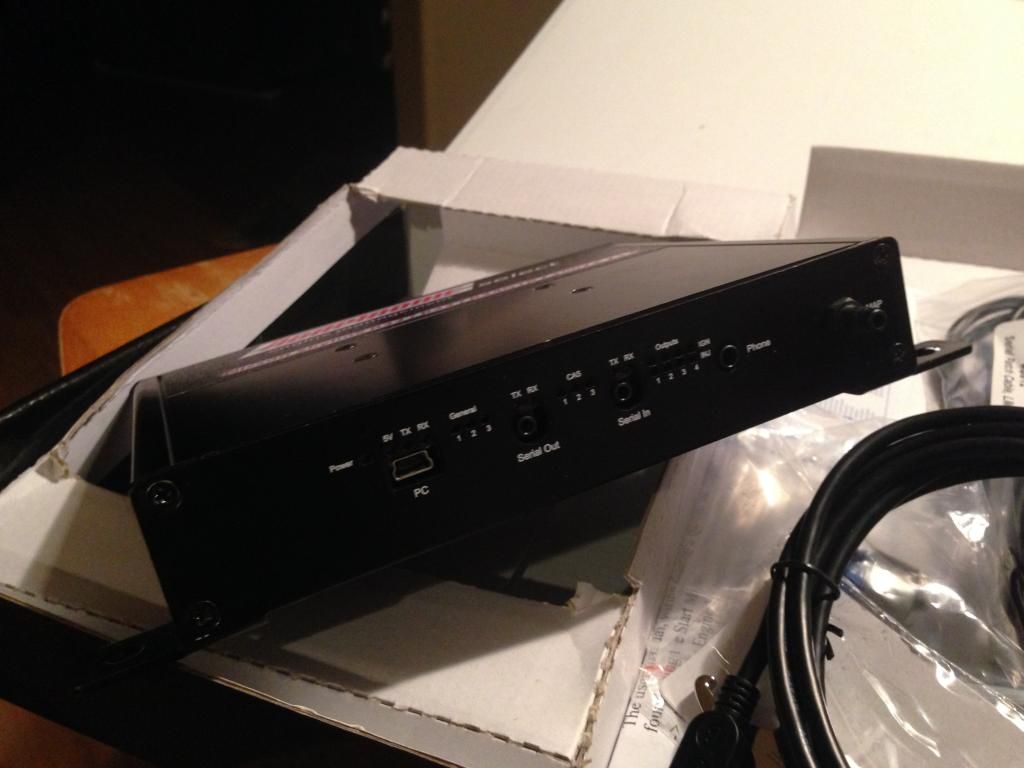
Here is the Adaptronics PNP Z32 ECU as I received it.
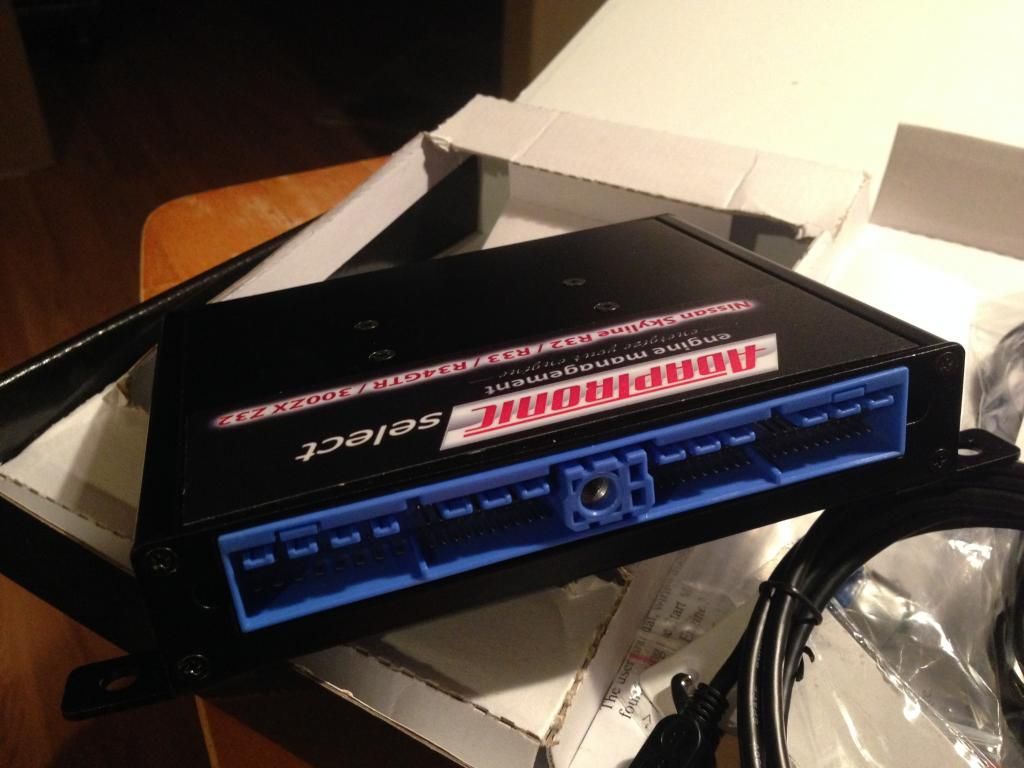
Connector for the stock Harness plugs right in.
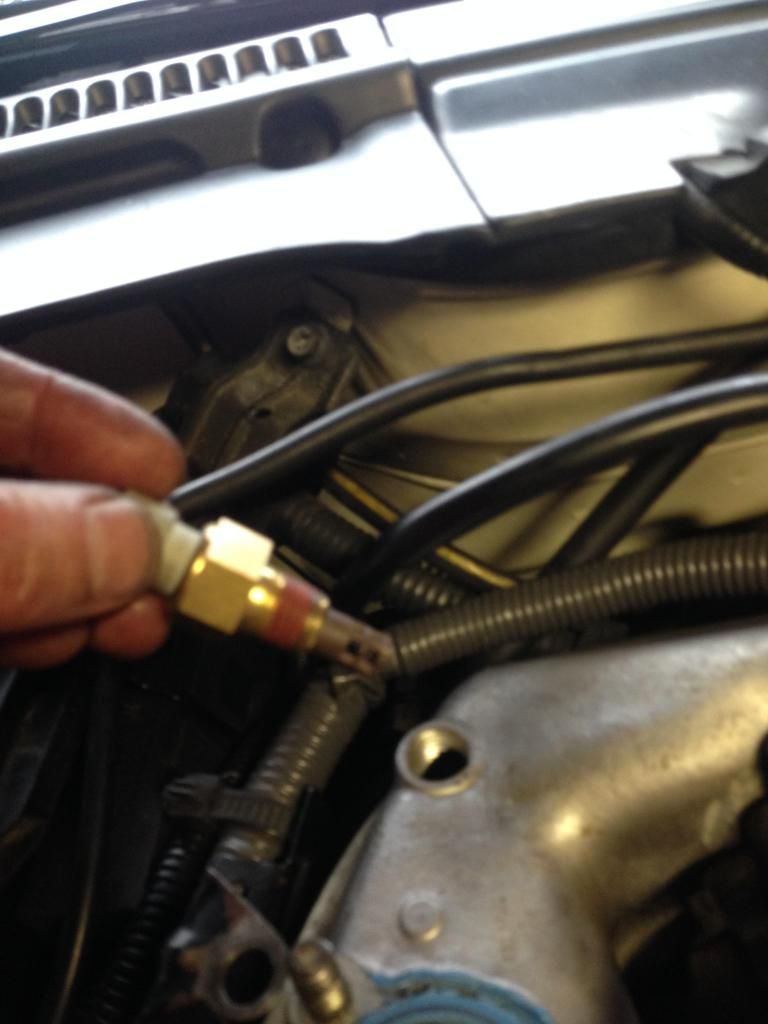
Here is the location of the existing threaded hole with the plug removed. The hole appears to be ¼” pipe and I needed to drill and tap it to 14mm 1.50 threads for the IAT. I removed the balance tube to access the back of the hole to catch any metal cuttings that might fall in. If any made it past I was confident I could vacuum them out with a shop-vac through the balance tube hole.
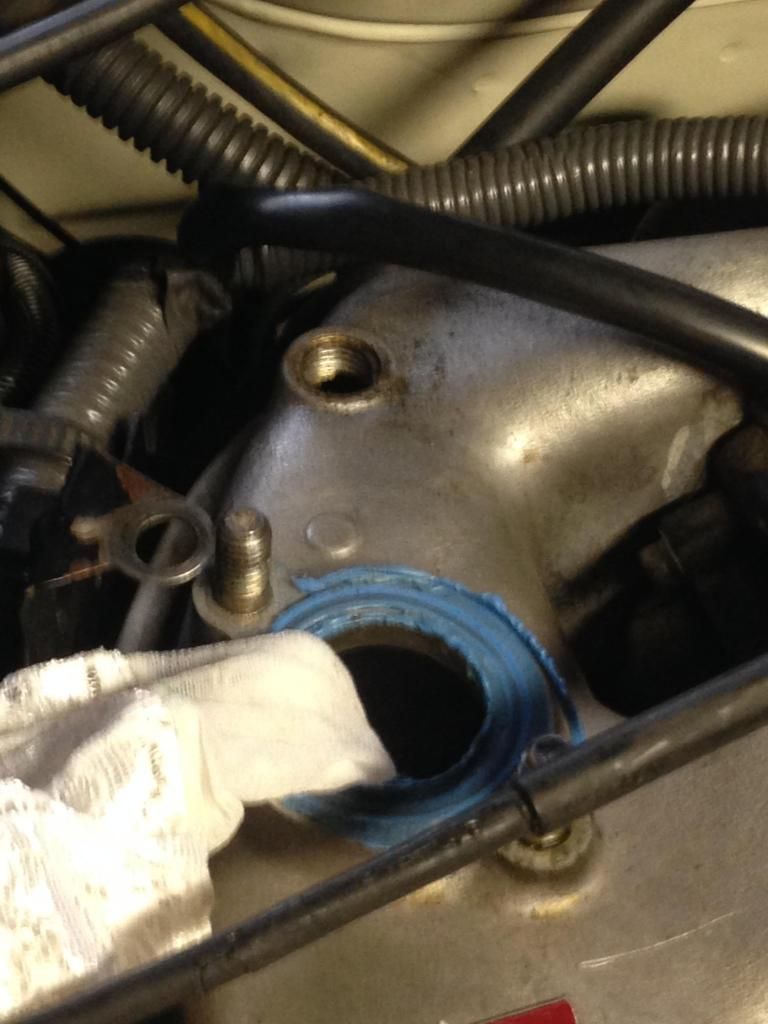
Intake Air sensor going in.
Here is my dual air intake setup with no MAF sensors. I like it. 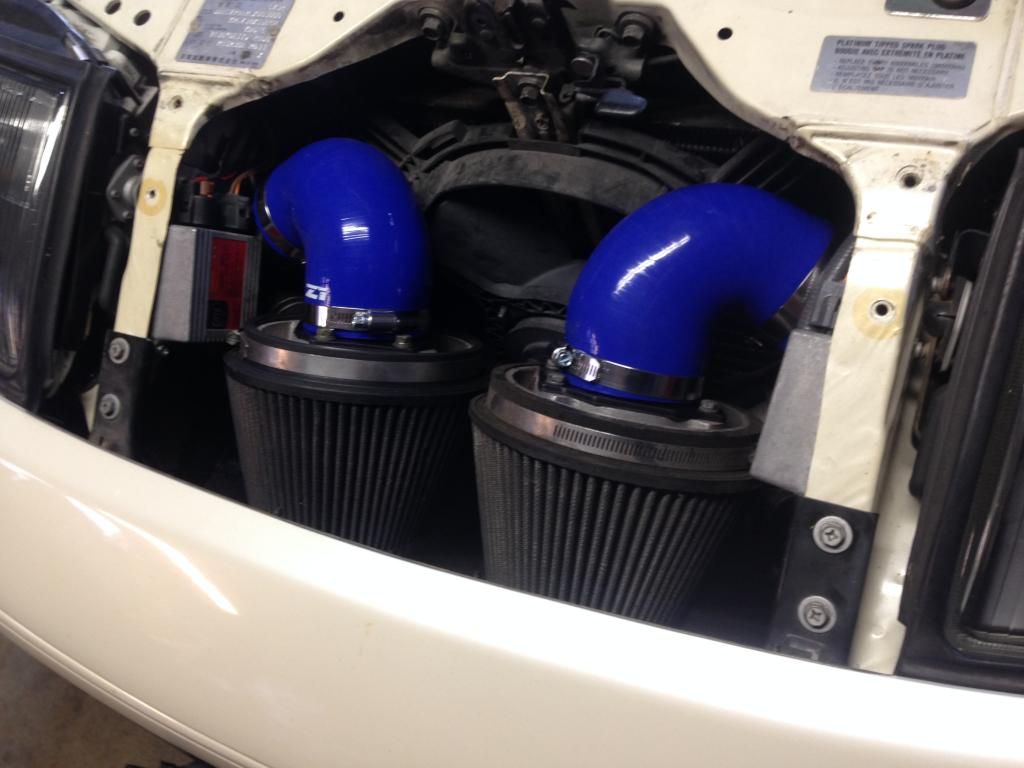
|


 Adaptronics PNP Z32 Standalone ECU -