| After repainting my car last spring, I was graciously blessed with the opportunity to be herded by a semi into some blown out tire debris on the interstate. My smile turned upside down as I exited the Z to find my lower lip completely cracked through in one section, and stress line cracked heavily on the otherside. My car sported the snaggle tooth for another month or so before it went under the knife for the current motor build. With the bumper off for the Ash Massives install, I figured now would be a good time for some corrective dental work. 
Here's a list of materials you will see being used below:
-SEM Problem Plastic Repair Material (Part A & B)
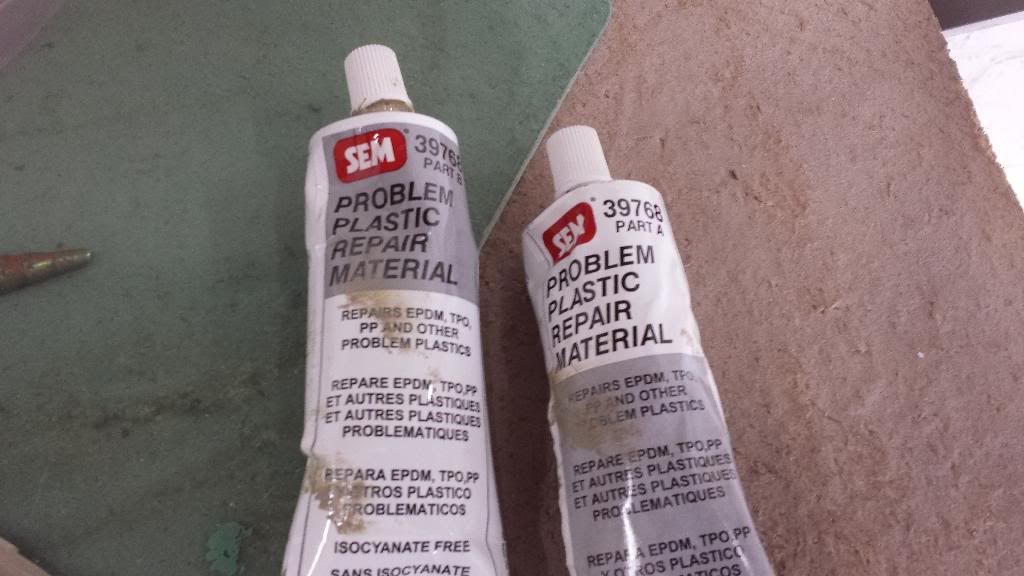 -Roll of reinforcement screening (adhesive backed)
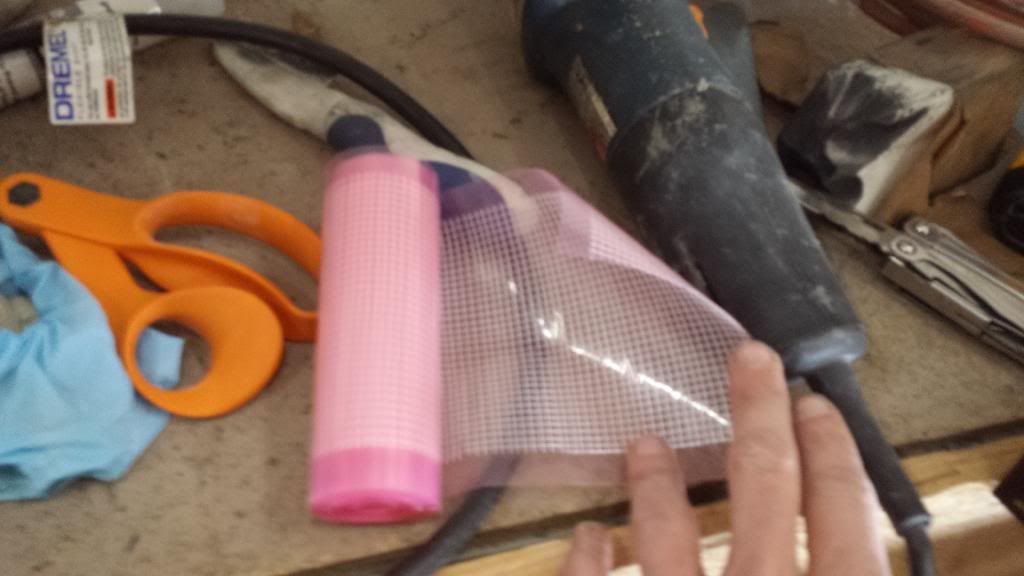 -Nitrile/vinyl gloves
-Various sandpaper grits (60, 180, 320)
-Wax & Grease Remover
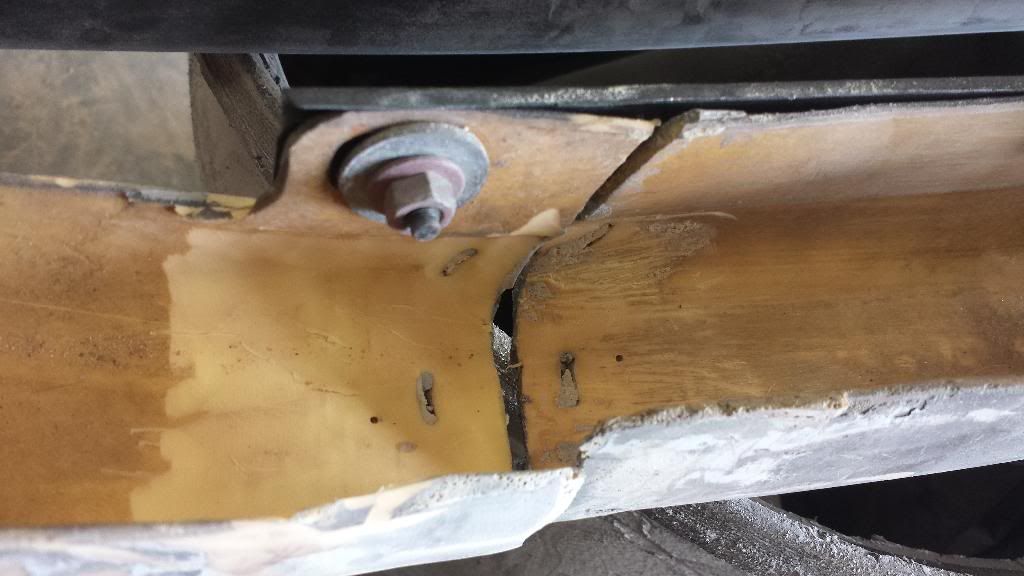
-Clamps to aid in aligning I started by washing down the bumper with my steam cleaner to help reduce contamination and cleanup further down the process. Next, I had the bumper flipped over on a stand and found this gem. 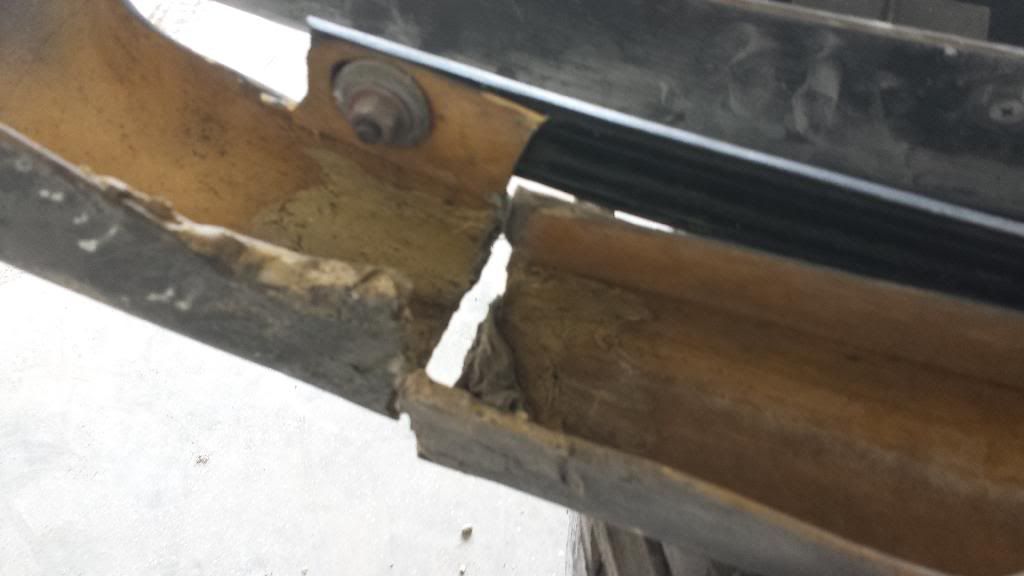
The previous owner had done some "repairs" and by coincidence that's exactly where my bumper split. They had used long strand fiberglass which has zero flexability which is why the repair snapped like a twig upon first glance. 5 minutes and a Dremel with a 80grit sanding flap wheel later.... 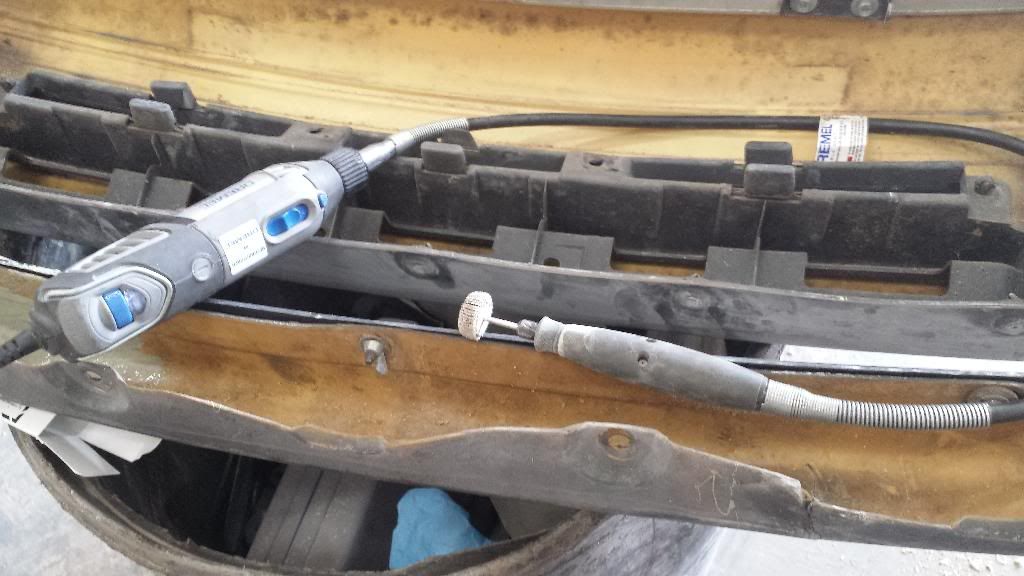
You want to prep the area down to the bare urethane/plastic, leaving a fairly rough surface (60-80grit range) and atleast 4-5" each way beyond the crack. Follow up by blowing the area clean of dust/debris with compressed air and then wiping clean with wax and grease remover to promote adhesion. Next, use your clamps to hold/align the pieces as best as possible. It works out better jf you leave the front outer face slightly recessed so that adequate repair material can be used to ensure strong bond later.
(Slight fast forward example photo showing the front side after the rear is reinforced) 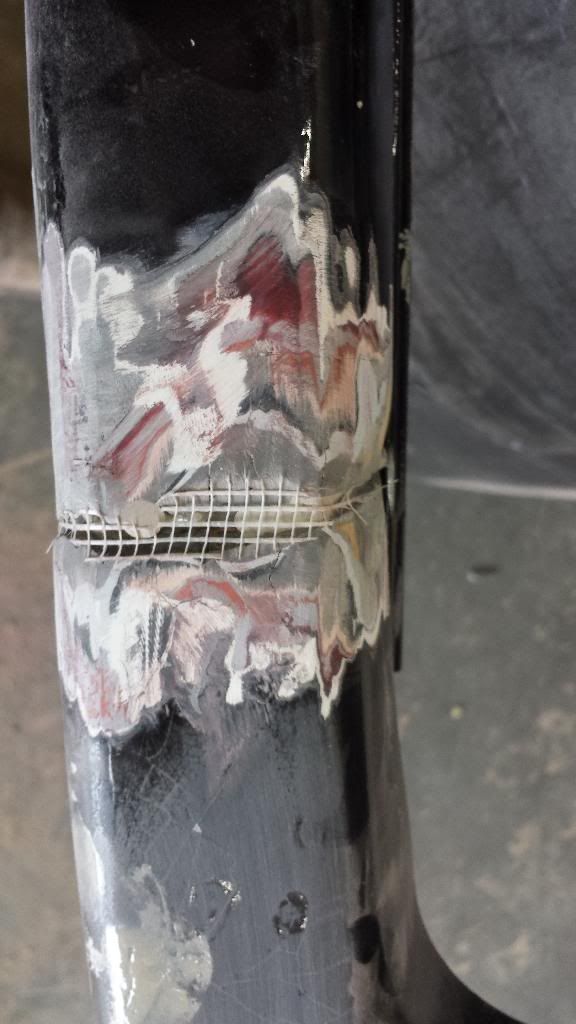
Ok, back to the first process of the repair..... (Get out your nitrile/vinyl gloves)
Cut two sections of the reinforcement mesh patch to cover the whole areas you have prepped. (Mine were roughly 6x10") Remove the backing and apply the first piece to bridge the crack. Follow up by making a half dollar sized batch of the SEM plastic repair material (mixing equal parts A&B) and applying over the whole repair patch area and an additional 1" beyond. Apply the second reinforcement patch on top of the recently applied filler within the 3-4minute range and press it in using your fingers. The "filler" type material will dry up in about 3-4 minutes so make multiple small batches opposed to one large one. If you do make one large one and don't use it all...it will atleast give you an excellent example as to why its a great repair material. 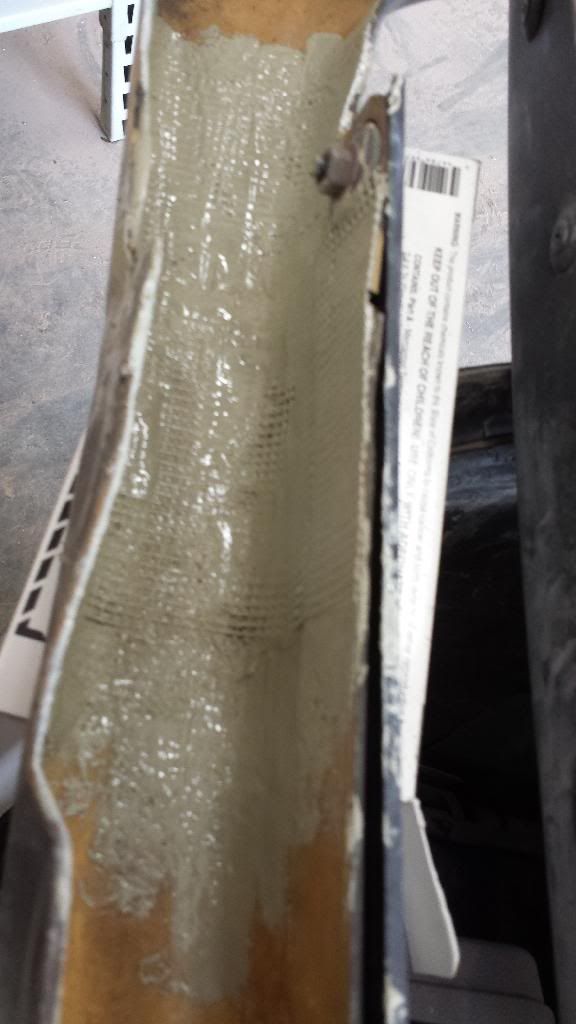
Fully cured, fully flexible without any cracking. Adhered to a slick plastic sheet and couldn't be pryed off. Should allow it to flow with the rest of the urethane bumper and deflect any future occurrences. 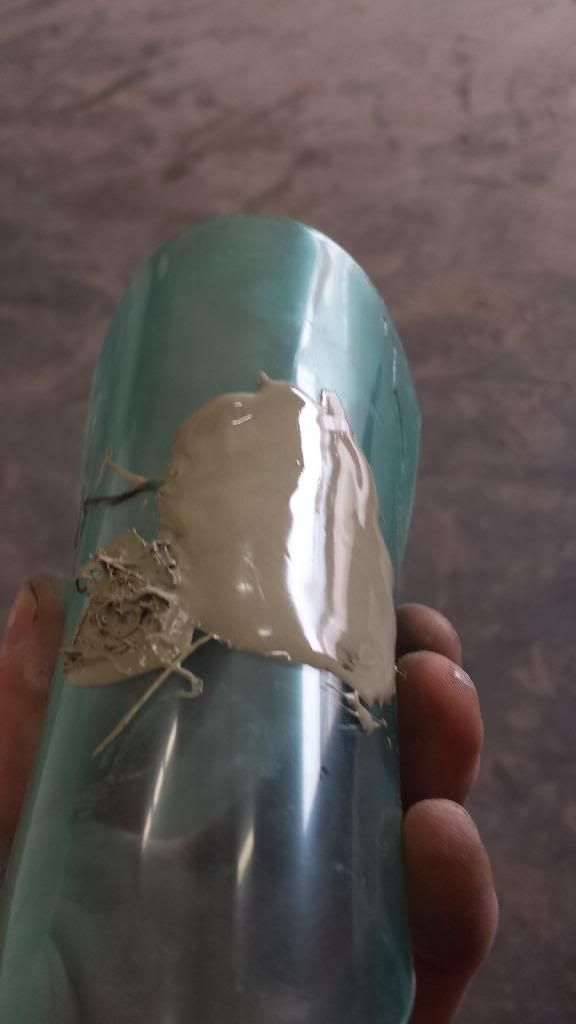
Fast forward through a few small batches of repair material and 80 grit sanding. I did a similar repair on the otherside as well that had the spidering crack 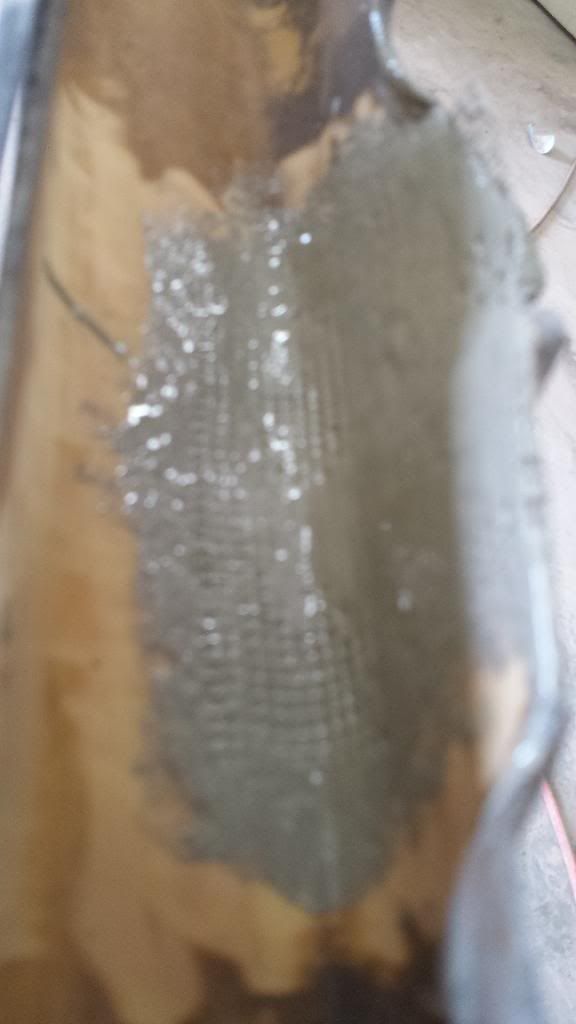
The SEM was used throughout the lower lip to repair any spidering/cracks/ chips. Just ensure the area is sanded course enough and cleaned adequately before applying the repair material. 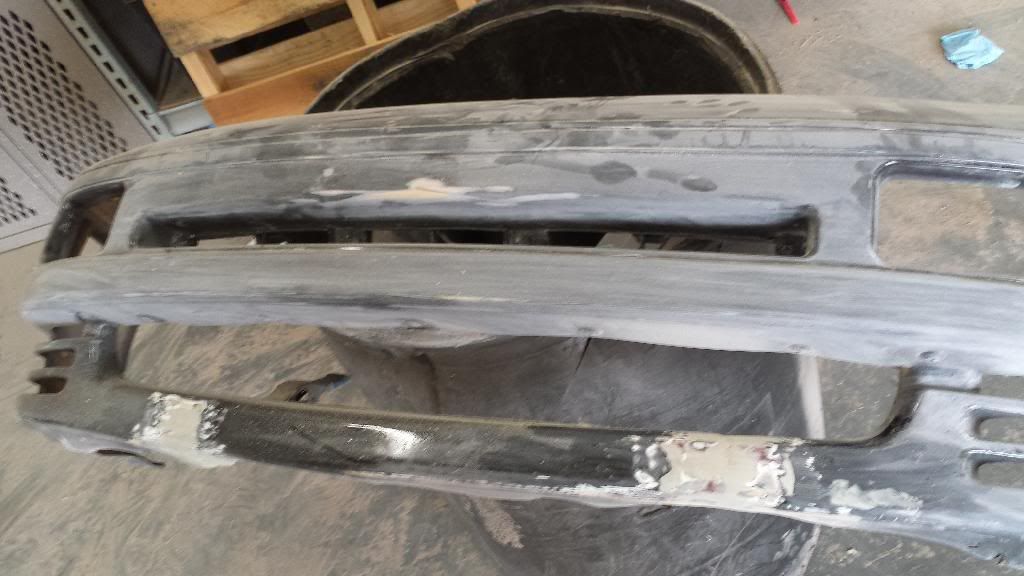
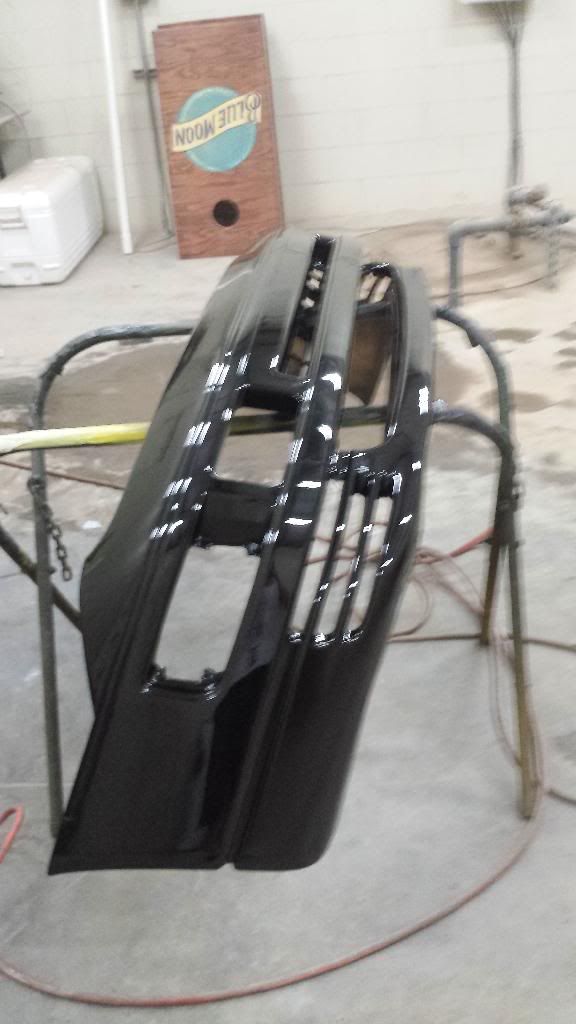
At this point I was able to pick the bumper up from the lower lip section and watch everything hold up through the stress/flexing. I continued prepping the bumper with 320 grit and a 3M "fine" scotch brite pad for the harder to reach areas and nooks. One coat of high build primer surfacer, 320 grit sanding, another application of primer to fill all final imperfections, some light sanding, and I was ready for paint. 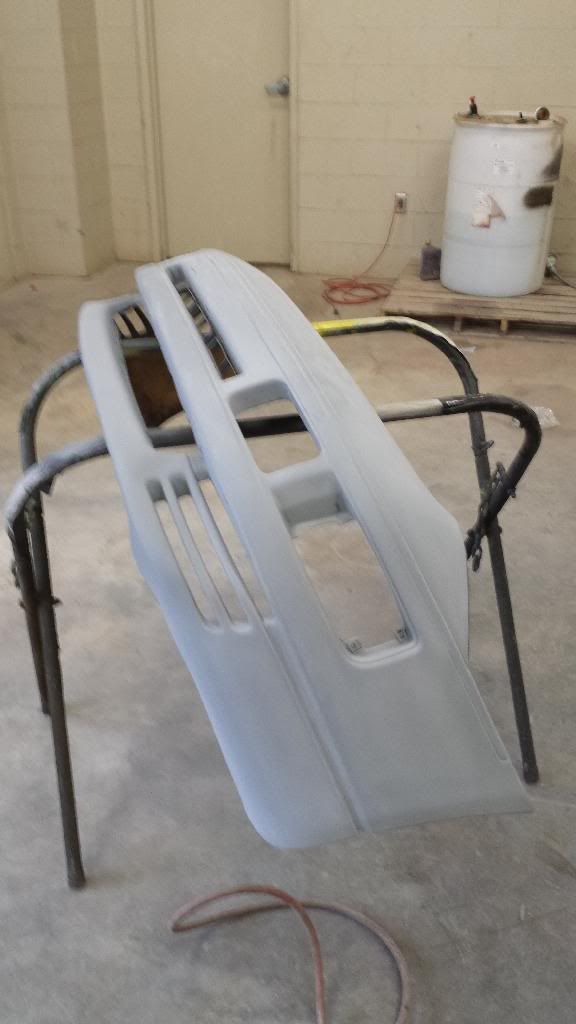
PPG DBU 732 Diamond Black Pearl basecoat and PPG 2002 Clearcoat
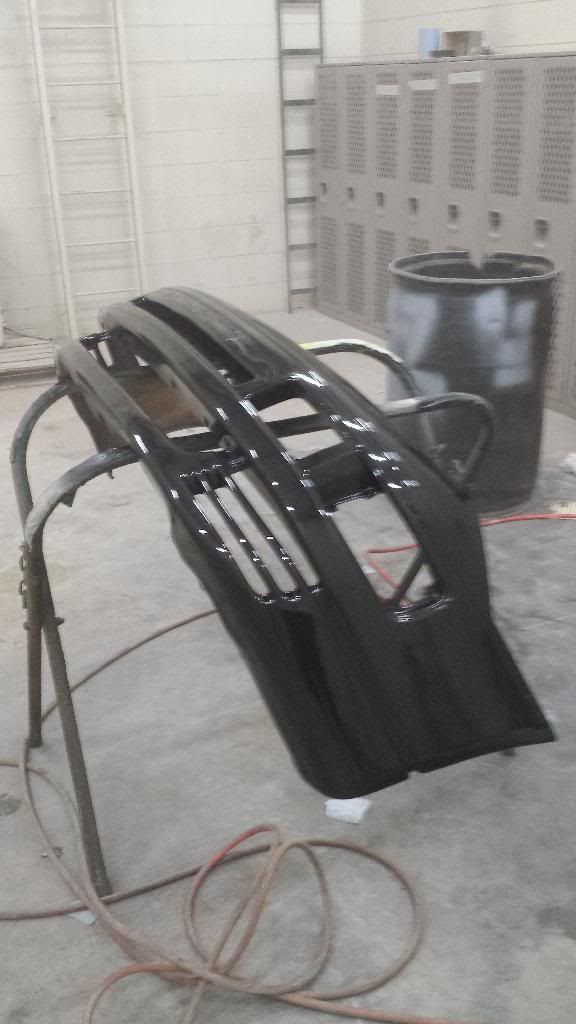
All in all, it cost me $70 for the SEM, reinforcement repair patch and wax and grease remover. I completed this whole process in 6hrs, followed up by 2 hrs of wet sanding and buffing the next day. I feel very satisfied with the results after seeing replacement fascias selling for $475 on many sites, Regards, 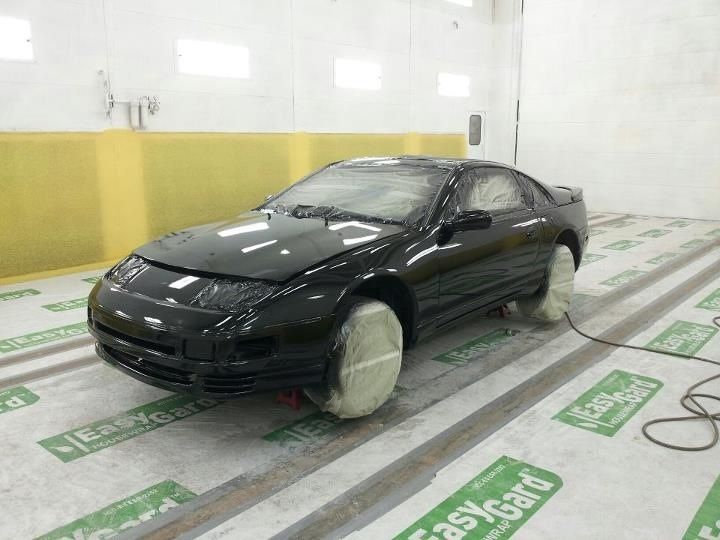
"I love deadlines- I like the whooshing sound they make as they fly by" 1980 Datsun 280zx
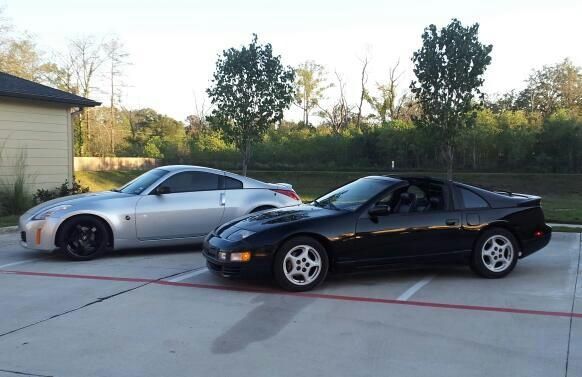
1991 Nissan 300zx TT
2006 Nissan 350z |


 OEM TT Front Fascia Repair Project -