| Here are the build progress pictures that are related to the posts EVLTWINZ shared earlier this week. [ http://www.twinturbo.net/nissan/300zx/forums/general/view/2502496/Sneak-Peak-Part-2.html ] [ http://twinturbo.net/net/viewmsg.aspx?forum=general&msg_id=2492999&forum=general&dtSearch=2 ] This project has been a long time coming. Part of the way though I changes jobs & had to travel with work, in addition to trying to work on my own Z too. EVLTWINZ was very patient with what turned out to be a painstakingly long process. I have over 100 hours in design & fabrication of the piece. This intercooler is good for 1 unicorn hp & I feel its the best out there. I will be making a similar one for my track Z here is the next 2 months. All the pictures are from my cell phone, sorry for the quality. Box shot of the genuine BELL core.
 The new core under 2 Bell cores that are the same size as Ash Massives. One day I will make new SMIC for my self, one day.
 Here is where I pick up the materials locally to make some of my custom parts. This is about 5% of their warehouse.
 This is one of the teaser pics I sent early on in the process. It is a small sample of what goes into making the complete part: steel jig, sanding, porting, in & out locations, etc.
 View of "some" of the materials used.....
 This is a picture of the first Verticle Flow Front Mount Intercooler End Tanks that I made some time last year. One the set pictures it was for a very budget build, running low boost. I former this set to save time & cost @ the sacrafise of perfection.
 A little math & its roughed out. It took me about 3.5 hours to get the first end tank to this stage. Multiple compound angles are not fun.
 Another view, pre-welding.
 Basic shape of the first cut(s)
 Close, but needs some more work.
 I would say thats good enough to TIG
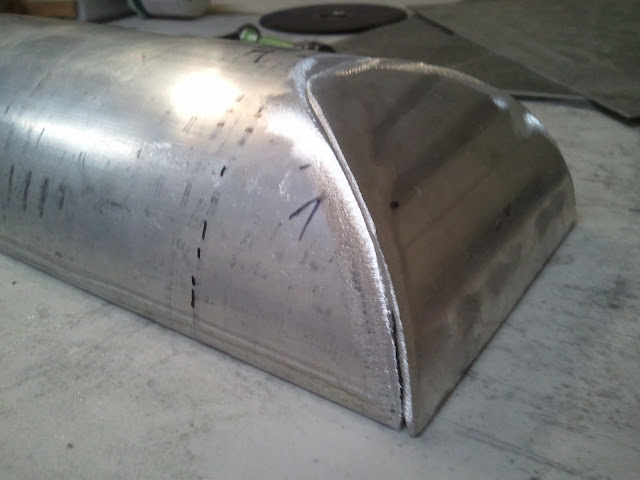 Now for the other side.....
 Toe plate in place
 Everything for the fist end tank is roughed in.
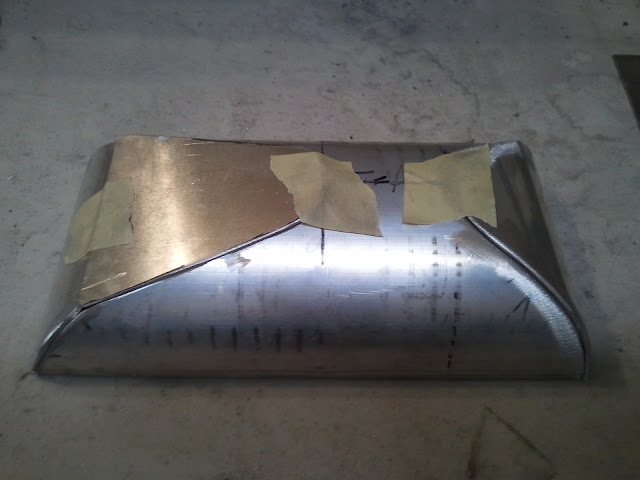 You can see a different sheen to the aluminum here. I didn't use 6160 for these end tanks. I stumbled across some information on types of aluminum & heat dissipation which lead me to the choice to use this aluminum.
 Both sides roughed in.
 Everything is taped up to do the first test fit & see where Ins/Outs will be.
 The tanks are welded on the inside & outside. Then they are placed on my jig to start fitting the inlets & outlets. I start small & work bigger because there is between 50-100 hours into it at this point & I don't want to start over on anything.
 More test fitting.
 Everything is looking good.
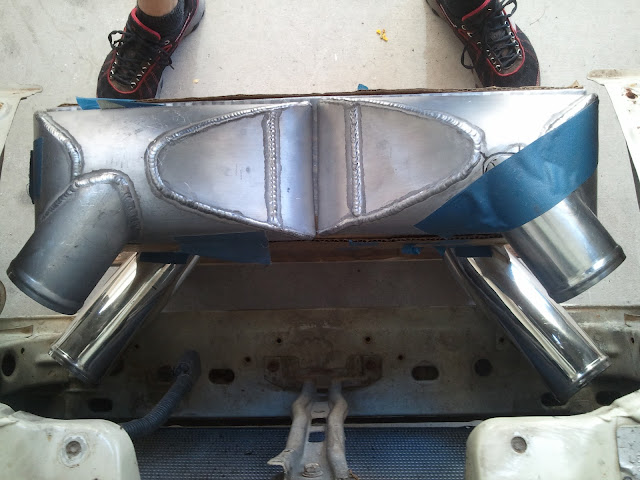 Measure, test, measure, test, etc.
 Making sure the angle is the same from side to side.
 Perfection takes time. If I were to take a straight angle or but-up to a flat wall this would have taken me a couple of minutes. However thats not what this is about, its about perfection.
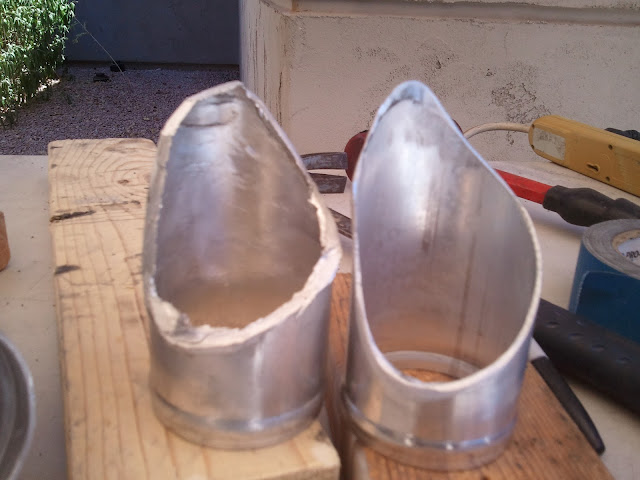 Porting & blending the inside for the least restriction possible.
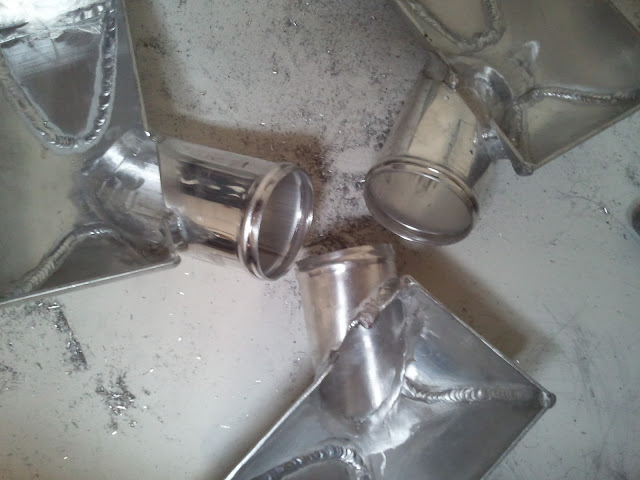 I think that will do nicely.
 2.75" on the outlet to aid in pressure differential & flow, with out satisfying cooling.
 All welded up
 the center of the pipes aim to the center of the cores. The opt is different than the bottom too.
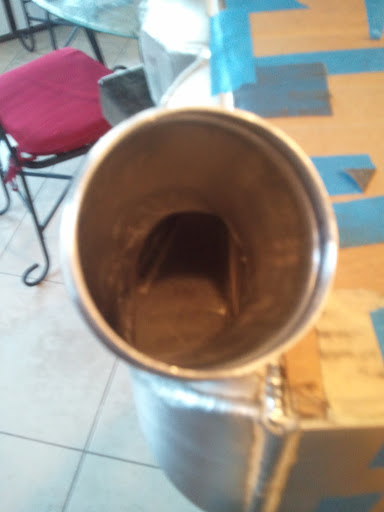 This is a view of the top of the intercooler inlet.
 Last shot of it before it shipped off. EVLTWINZ was pretty dang happy & excited when I FINALLY text him this picture.
 Here are some pretty pictures that show even though the system is fully pressurized, does NOT mean that flow & velocity are equal across the core. The angled Ins/Outs helps with this. The devil is in the details. Frictional losses add up, porting & blending helps. I hate square end tanks.


I hope you enjoyed the show.
~Induetime~ "Lag Less"
500WHP/533WTQ Stock Turbo World Record Holder |

