| Message |
After 18 years and not so many miles (54,000) the seats in my car have begun to rip. The driver's side bolster has a hole and the passenger cushion is de-stitching between the front and side bolsters. The leather has dried and hardened to the point that no amount of Lexol is able to help it. The work of recovering is being done at Slick Creations in Jonesboro, GA. This shop specializes in high end vehicles, principally hot rods and customs. John Whitaker, the owner, worked for many years in Detroit on OEM interior design projects, including the 1st gen viper. The subject seat, from which we will construct the seat covers, was kindly provided by John@Z1. It was originally a blue driver's cloth seat from a JDM vehicle. As such it is powered and the main location of wear is on the opposite bolster as a USDM seat. We began by disassembling and undressing the seat (sorry but I have no pictures of this process). Next we repaired the damagaged foam. It should be noted that if new foam does not become available for the Z32 seats, it won't be long before these seats will become unserviceable. It took the better part of a day to carve out all disintegrating portions, cut new foam, glue it in, reshape it and protect it with a layer of "listing". Listing is the loose weave cloth ribbon used to hold the wires to which hog rings are attached. 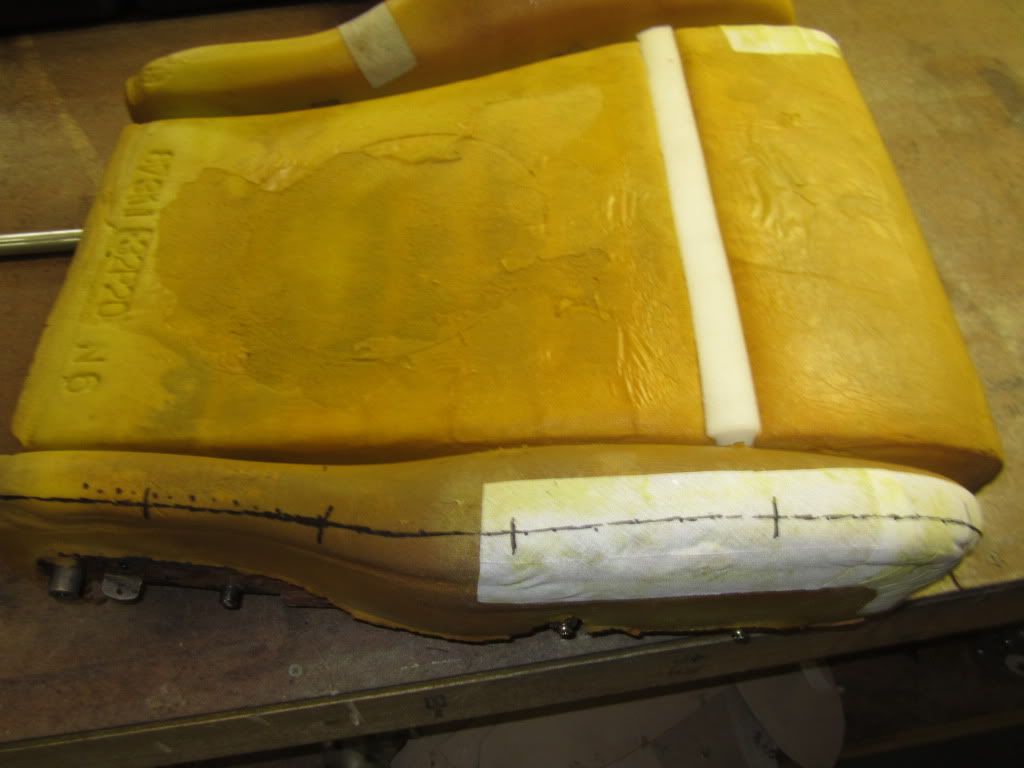
Next we drew the loaction of the seams. This is done to ensure that the new seams fall on the new ridge of the aged foam. Using this, we then cut paper templates for the outside and inside of the bolster. Being that the seat is symmetrical, inverting the pattern when cutting the fabric will yeild the parts for the opposing bolster. These patterns will need adjustment as the seat cover is sewn in order to achieve a wrinkle free, tight fit, with no seam buckling. 
Next we transfered the pattern shapes to vinyl (for pattern validation). The fabric was adhered to 1/4 cloth reinforced foam in order to give the cover depth and minimize surface irregularities. Remember we are going over some pretty worn foam with patches. The two bolster parts were sewn together, "frenched" (double stitiching to flatten the salvage) and fitted with listing and J-channel and test fitted. J-channel is used on the door side of seats for a clean apperance. Hog rings are used elsewhere. The pull channel between the front bolster and seat insert is filled with a strip of foam. We are changing the design of the seat to incorporate a lamborghini-like "diamond" pattern on the insert. We want a smooth apperance front to back so as to not disturb the sewn pattern with crossing sew lines to hold the listings. 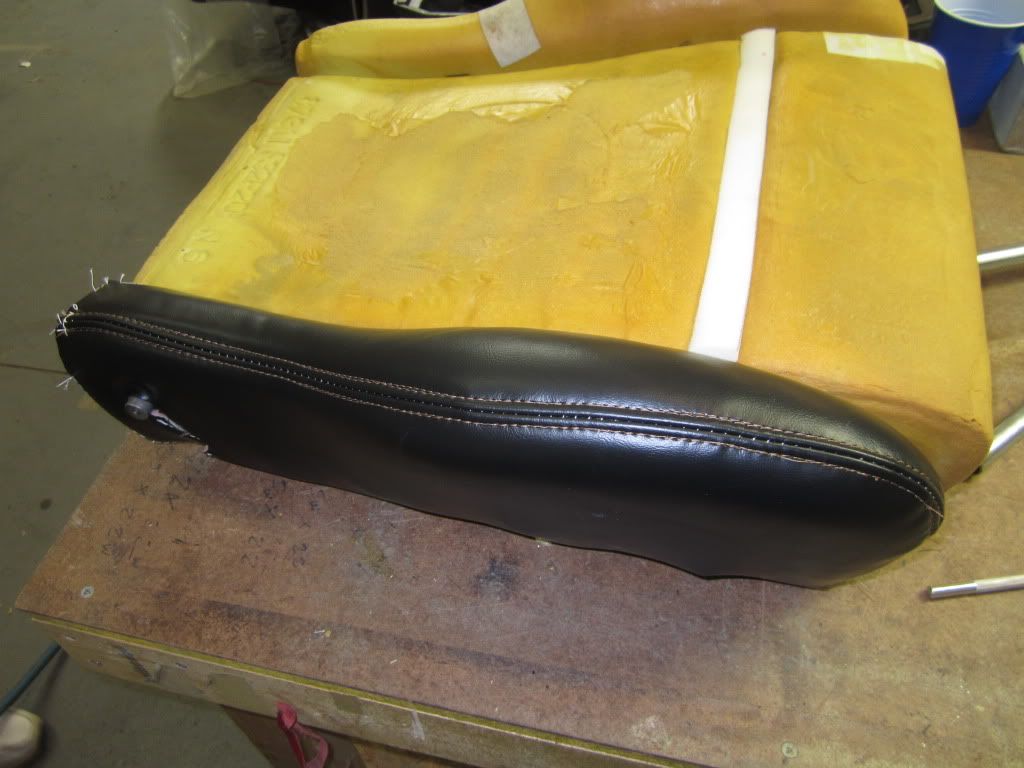
|
 |


 Recovering a Z32 Seat -