 My NA 3rd brake light panel has been driving me nuts.. I am planning on ordering a new one.. but since I have been practicing this paint/body work stuff.. I figured I could freshen up the look with some painting. Had to use a rattle can because I accidently ran over my "better" gun that I got from someone. 


You can see how truly faded the 3rd brake light was when I removed "NISSAN" decal.  Scuffed up a bit..then started to tape her off. Scuffed up a bit..then started to tape her off.
I attempted to remove the 3rd brake light.. but I am pretty sure I would've ended up breaking it if I did.. so I just taped it all off real good. I also removed the trim around the 3rd brake light. 


Here is the products I used. They worked "okay".. I would just suggest using a regular plastic adhesion promoter, some good gloss automotive acrylic lacquer and clear. This stuff is very picky.. especially with humidity in the air.. I noticed the clear doesn't want to dry clear.. The first go around.. it worked out great.. but the second time it was more humid and it dried with a milky appearance.  Here is is with 2nd light coat of the base color coat. Here is is with 2nd light coat of the base color coat.

Removing tape line for 3rd brake light.. (please ignore water droplets)

Wet sand with 1500grit to knock down orange peel. Then I proceeded to go with 2000 grit and made sure there were no high/low spots.

Testing area with the rubbing compound (Meguaire's Ultimate compound and Meguaire's Ultimate Polish)

Here is how it came out the first time I did it.. came out absolutely perfect. Except when I was doing the final buffing.. I accidently burned through a corner of the base coat. So being as picky as I am.. I totally sanded everything down again and started over. The final 2nd time came out good too.. its just the very slight "milkiness" that the clear set as. It is because of the humidity that night.. it was very high. Hopefully it will get more clear as the time goes on and the paint/cures.


Still looks much better than it did before the paint. (I just wish I could've gotten the same results as the very first time I did it and the clear was perfectly clear) Being super picky a few nights before an Event you are getting ready for isn't the best thing in the world :) 
The rotors I had on the car looks horrible with all the rust on the hubs. I just had to do something about it but wanted to do it better than just wire wheelin' it and painting.. So I made her a flyin' Z for a few days and put her up in the air and removed the rotors. 
So I taped them all off and got them ready for a good sand blasting session.

Used aluminum oxide blasting media in blasting cabinet

Hopefully this ceramic paint will hold up..


Curing in oven for 3 cycles.
200^ for 30 mins... then cool for 30mins
400^ for 30 mins.. then cool for 30 mins
600^ for 30 mins.. then cool for 30 mins (oven didn't go up to 600^.. so I put it up to 550^ for 45 mins.)

Hopefully this will hold up pretty good :) 
I removed both windshield wiper cowls so I could sand them a bit and give them a new look.. since they were faded and lookin a little aged. 
Welcome to my indoor homeless paint booth :) 4 flat cardboard pieces ..
I used some plastic adhesion promoter.. 4 coats of base color and no clear. Wanted it to have a matte look to match OEM. 
You can see my upgraded piston/rod I have for my VG laying there.. 
the stock cowls were missing the SS mesh that is under them.. so I found some SS screening material and it worked out perfectly. 

I was going to use gasket material or some type of glue to hold this together but I didn't want to have to wait for dry times etc.. (since I was rushing to get car done for ECZA this past weekend).. So I just grabbed my junk soldering iron and it worked out great!


Looks better than aged OEM! :)


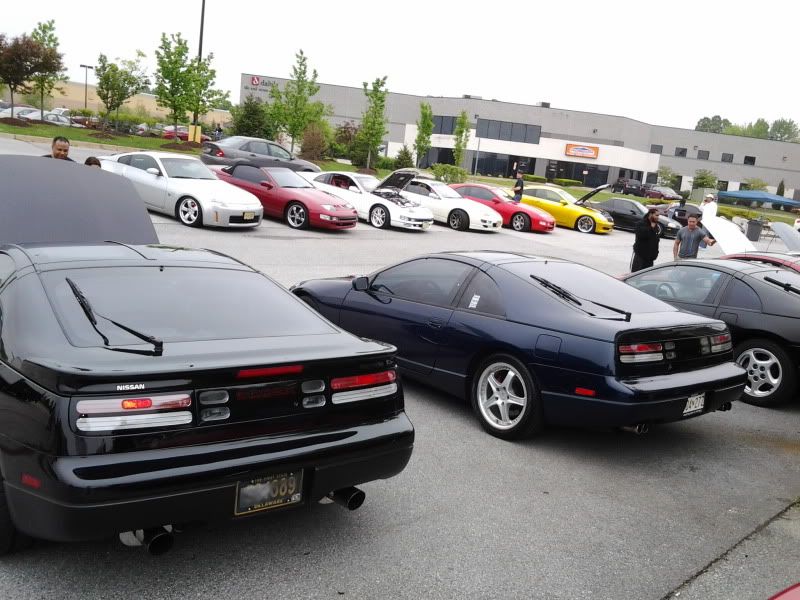
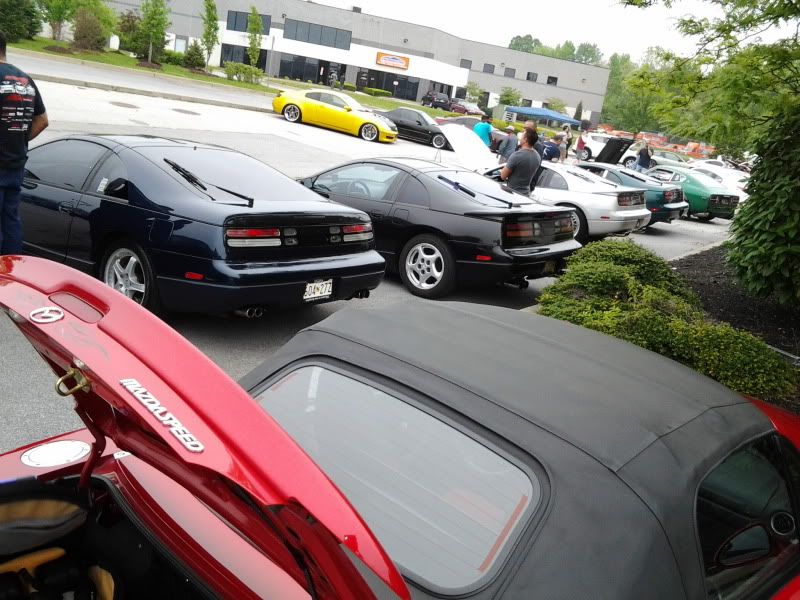
YES... I know.. Wheels need better offsets and definitely needs to be lowered. Exhaust will be happening soon too :) I did all this work during the last week after coming home from working all day.. I wanted it to look a little "better" for the ECZA meet.. since I haven't been to one in a few years. Just barely got it done in time.. Washed her up in the morning right before I went :)
Also.. the Twinturbo conversion will be happening much earlier than I had planned. Once I went to the meet.. It totally threw me back into "needing" a fast Z car again :)
I kinda forgot how SLOW N/A's actually are :) P.S.. Thanks to the Z members that snapped a few pics of my Z at the ECZA meet!
~~~ Sig starts below
~~~NO, This picture is not photoshopped. ![]() src="http://www.maximusdvd.com/mytwinturbo/images/b src="http://www.maximusdvd.com/mytwinturbo/images/b
ikeburnzig.jpg">
AIM:Shawn300zxTT "-Any closeups on the nuts? - zboost(tx) 19:17:53
08/08/05
-Not really something you want to ask another man
about... (n/m) - LordZ 19:24:00 08/08/05" "I just took 45 min and scrubbed the heck out of my rear"
teambushido(San Diego, CA) 19:24:51 12/11/04 -1991 Stage _ TT 5spd (Upgraded to hell and back)
Custom widebody -1990 Midnight blue 2+2 NA 5spd. (conversion soon :)
-2001 Ford F-150 Crew cab, 5.4 Triton v8.. Tow bitch
-2004 Honda CBR 600RR (Candy blue, FOR SALE)
-1990 Cherry Red Pearl ,Auto Coupe (Parts car) Gone..
-1990 Super White 2+2 Na Stage 3 Auto (Deceased :( )
-1990 11 Sec Eagle Talon Tsi AWD, (SOLD!)
-1997 Acura 2.2 CL, 5spd. Daily Driver.. (black ice victim
:( |


 Some stuff i've been doing lately.. -